Pizza very well may be the perfect food. It's served in almost every country worldwide, and for a good reason: it's easy to make, flexible in terms of toppings, and with the proper fermentation, it has layers upon layers of flavor. This guide is your map to navigating the dance of flour, water, and time that transforms simple ingredients (flour, water, a sourdough starter!) into the perfect canvas for whatever abundance your garden (or market) holds.

While balling pizza dough is pretty straightforward, shaping it out into a large circle can be intimidating.
Often, the dough isn't strengthened enough, over hydrated, or just plain sticky. In this guide to balling and shaping pizza dough, I'll walk you through how I perform each step. In the end, you'll be ready to tackle any sourdough pizza dough with confidence.
Upfront, you need to know there are two steps to handling pizza dough to get it ready for cooking:
- Form divided pizza dough into tight balls with a smooth surface on top
- Some time later, stretch the relaxed and proofed ball out into a large disc for topping just before cooking
Let's look at each of these in detail, starting with how to ball pizza dough effectively.
How To Ball Pizza Dough
After you've mixed and bulk fermented pizza dough, the next step is to divide it and form it into small balls for proofing (the dough's second rise).
When you form pizza dough into small balls, you make uniform pieces that, when stretched out later, will form a perfect (or close to perfect) circle. Think of it as preshaping your regular sourdough bread dough, setting the stage for easier, more uniform shaping. The tight ball will relax and spread out uniformly as it proofs.


Here's how I ball pizza dough, starting with divided pieces of dough:
- Start by holding the dough in one hand and use your other hand to pinch the dough around its center.
- Rotate the dough and pinch around the top-center again. The dough will begin to smooth on the sides as it's gathered up on top into a tight seam.
- continue rotating the dough and pinching the top until the seam is closed on the bottom and the top of the dough is completely smooth (bottom-right image, above).
Once the sourdough pizza dough ball is smooth and the bottom has a closed seam, place it into an oiled proofing container (I love these pizza trays) seam side down with space between each ball. Cover the container and let the dough proof at warm or cold temperature as specified in the recipe.
(See below for my favorite tools for proofing pizza dough and other steps of the process.)

Video: How to Ball Pizza Dough
Here's a video of me balling sourdough pizza dough before cold-proofing the dough.
How to Stretch (Shape) Pizza Dough
Now that your pizza dough has been balled with a smooth surface and has been proofed sufficiently, it's time to stretch it out into a large circle in preparation for topping and cooking.
There are many ways to stretch pizza dough, but this is my favorite. It's a mashup between what I grew up watching my dad do at his Italian restaurant, what I've seen others do, and what feels most comfortable for me.
Make sure your pizza dough is fully proofed (the dough poke test can help you figure out when it's ready) before moving on to stretching.


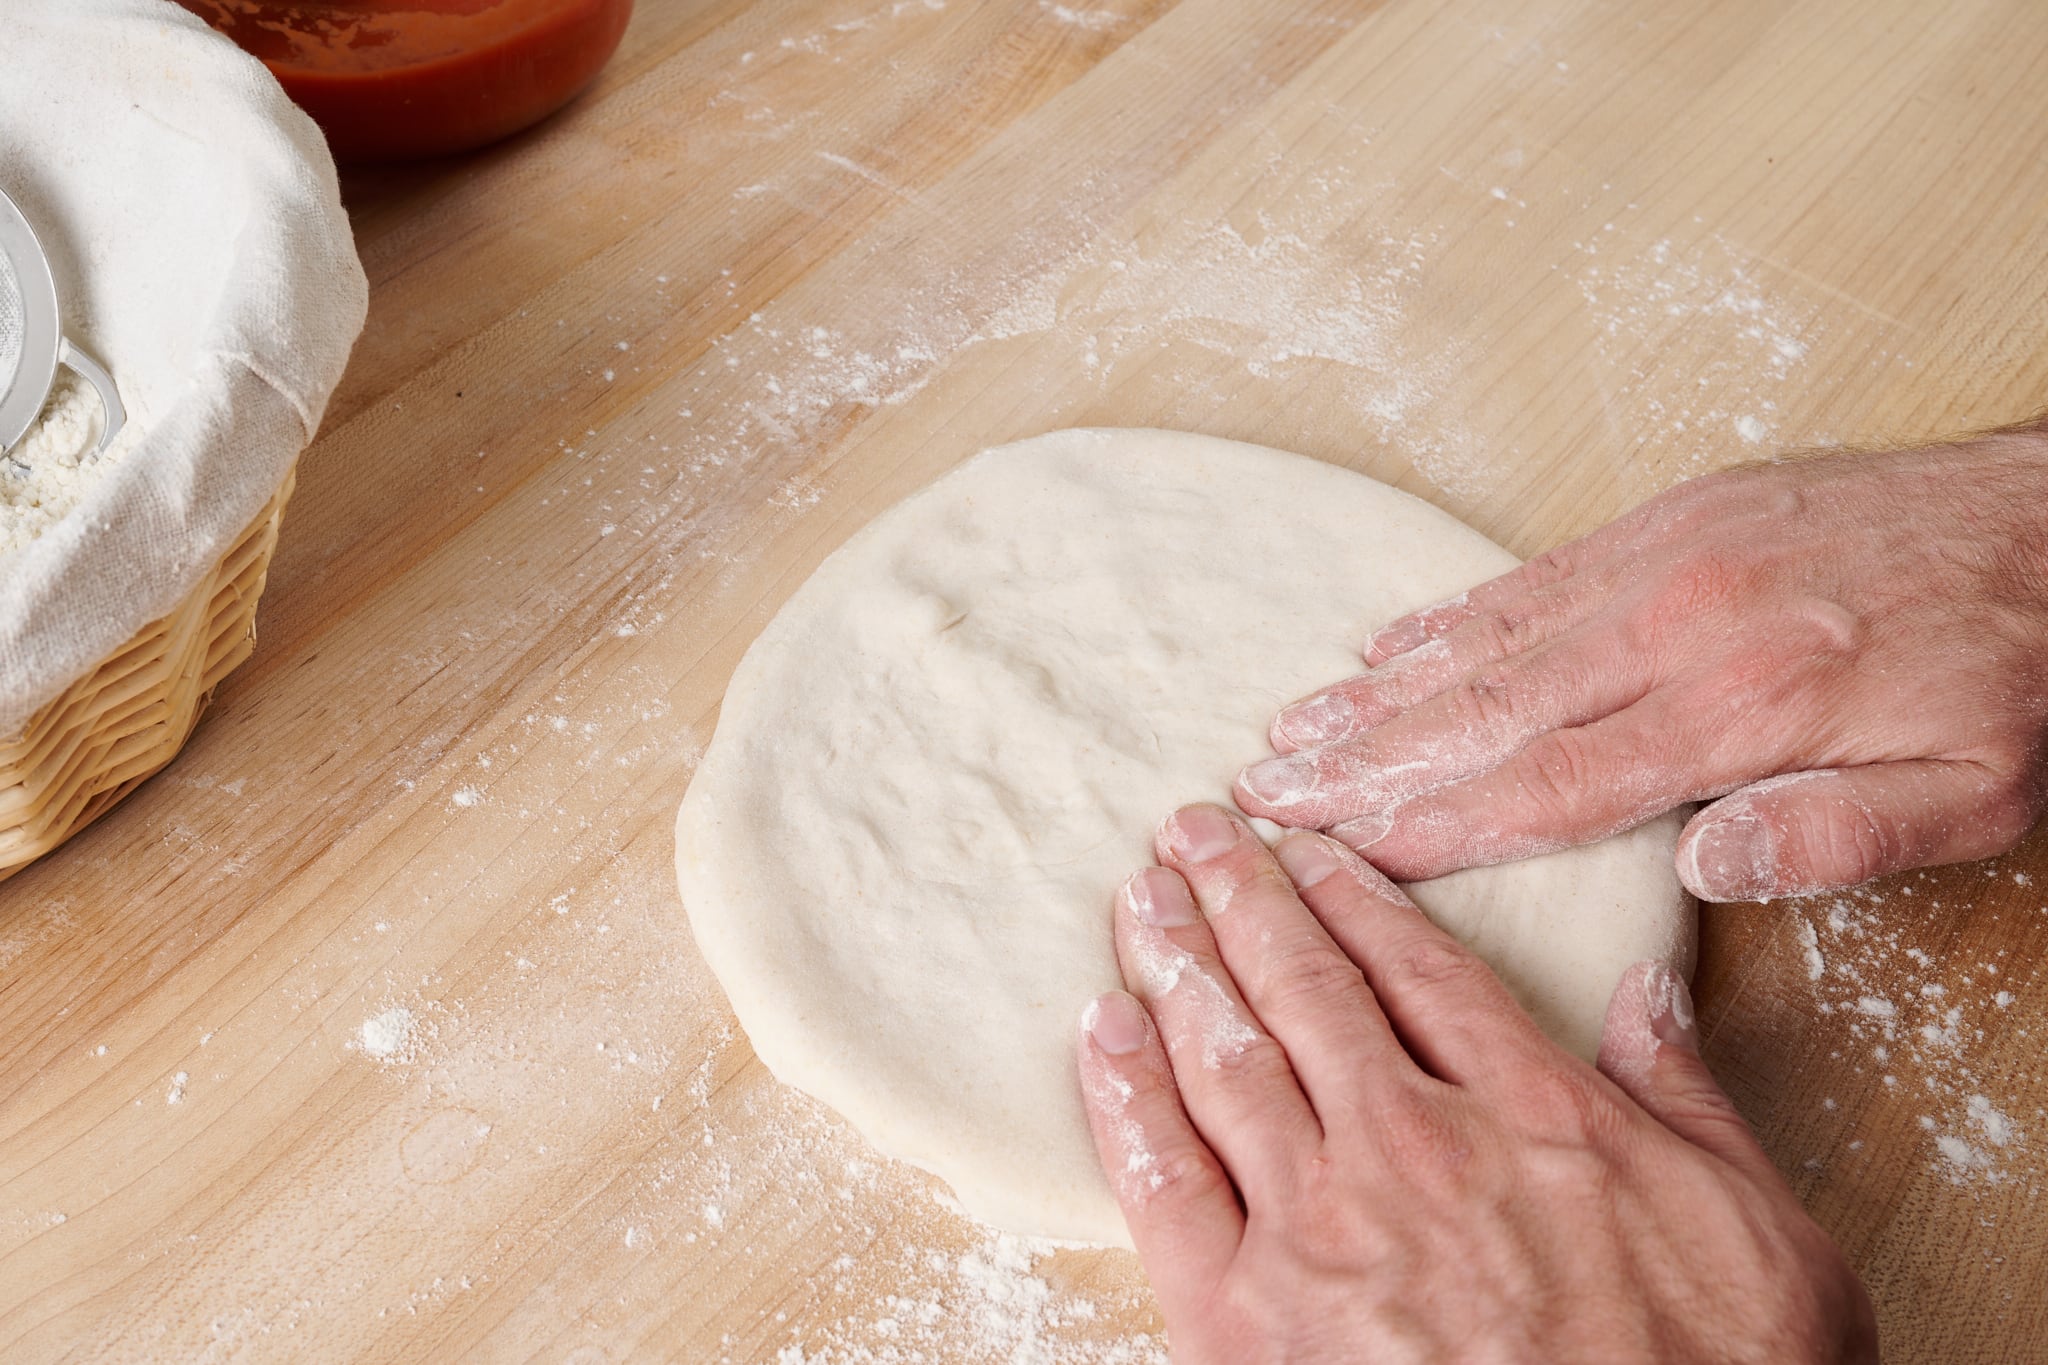
Here's how I shape sourdough pizza dough:
- Transfer your relaxed and fully-proofed pizza dough ball to a well-floured work surface, seam side up.
- Sprinkle flour on top and use your hands, shaped like an inverted “V,” to press out the dough from top to bottom. Rotate the ball and press it out again (upper-left image, above).
- Then, flip the dough over and again, with your hands shaped like an inverted “V,” press the dough out. If desired, use one hand to continue to press the dough out (this also helps push gasses from the center out to the rim of the dough) (upper-right image, above).
- Pick up the dough with your hands, make fists, and drape the dough over your knuckles. Gently and slowly, pull your hands apart to stretch the dough. Rotate the dough over your hands and continue to stretch in this way a few more times until the dough has spread to about 10 to 12 inches in diameter (lower-left image, above).
- Lay the dough back on the work surface and top as desired.
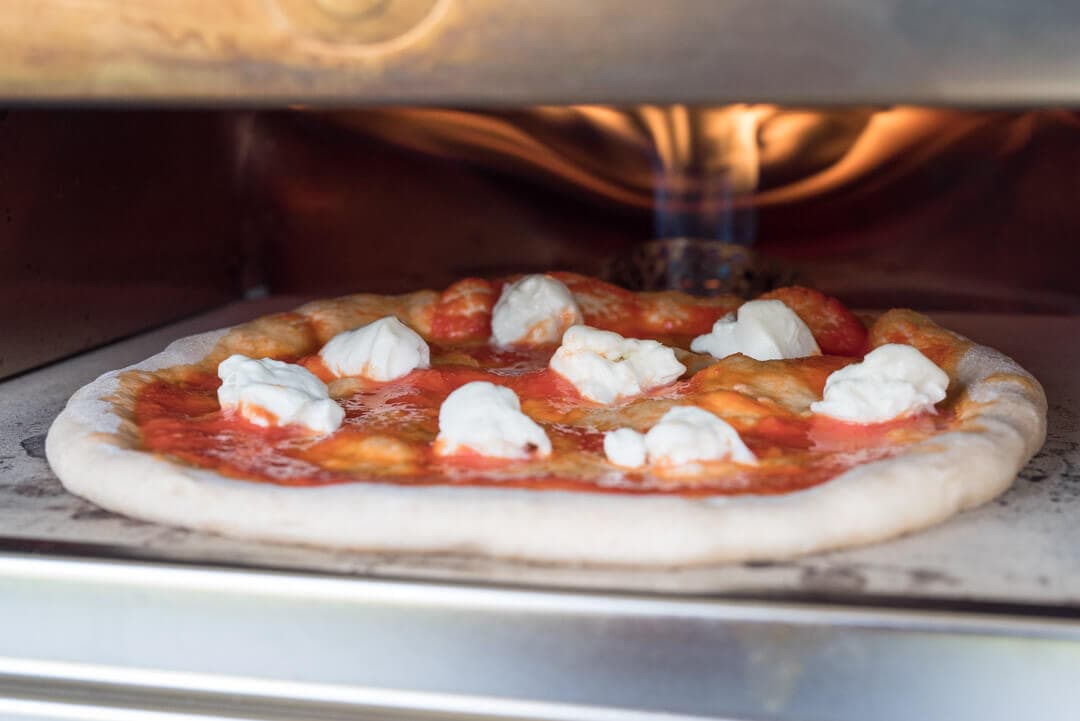
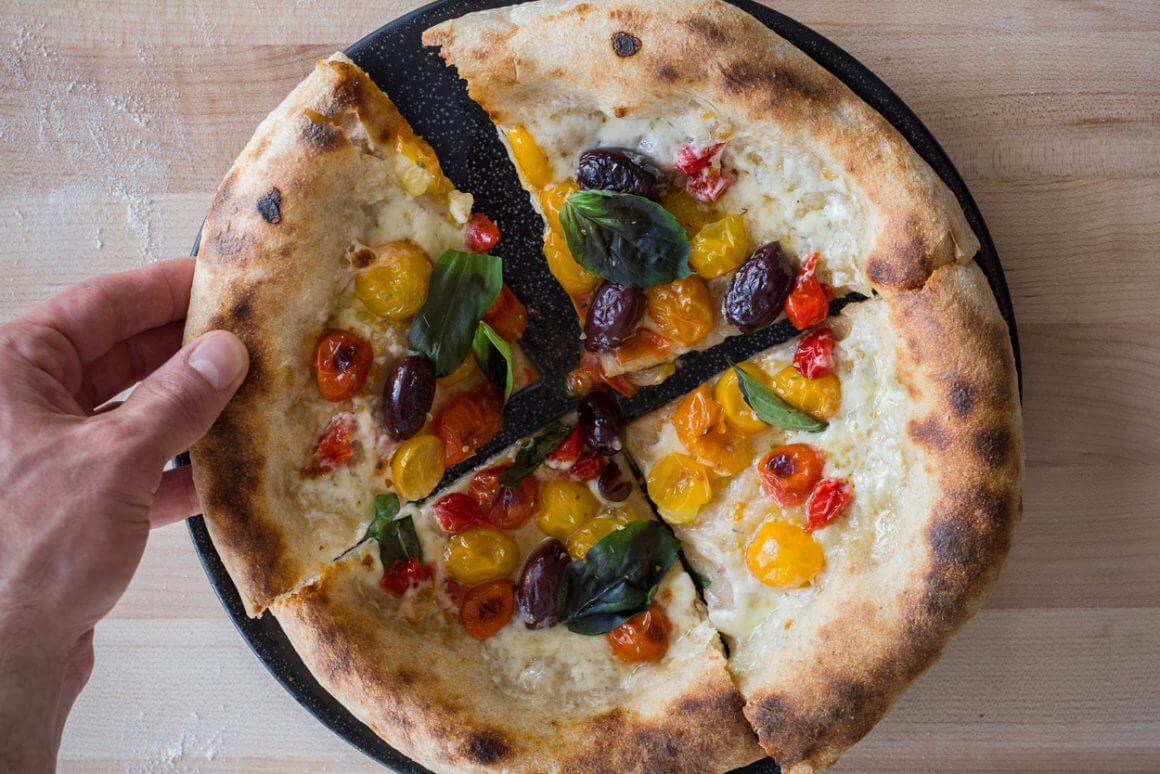
Next, top your dough with tomato sauce, cheese, and any other toppings before cooking it in your home oven or wood-fired pizza oven.

Video: How to Stretch Pizza Dough
Here's a video of how I like to stretch out pizza dough before topping it with tomato sauce, cheese, etc., and then cooking in a hot oven.
My Favorite Pizza Tools For Shaping and Proofing
Proofing Pizza Dough
I like to proof my pizza dough in large trays, which make it easy for removing the dough. These specially designed pizza dough-proofing trays are my favorite.
Alternatively, proofing dough in smaller containers lets you keep the dough in the fridge and pull one or two containers out at a time, leaving the rest in the fridge for later in the week. These 4-cup glass containers are my favorite for single portion pizza dough.
Sourdough Pizza Recipes
Now that you know how to ball and stretch pizza dough, let's put those skills to good use. Any of the sourdough pizza recipes below will be sure to please—I mean, when doesn't pizza please? 😀
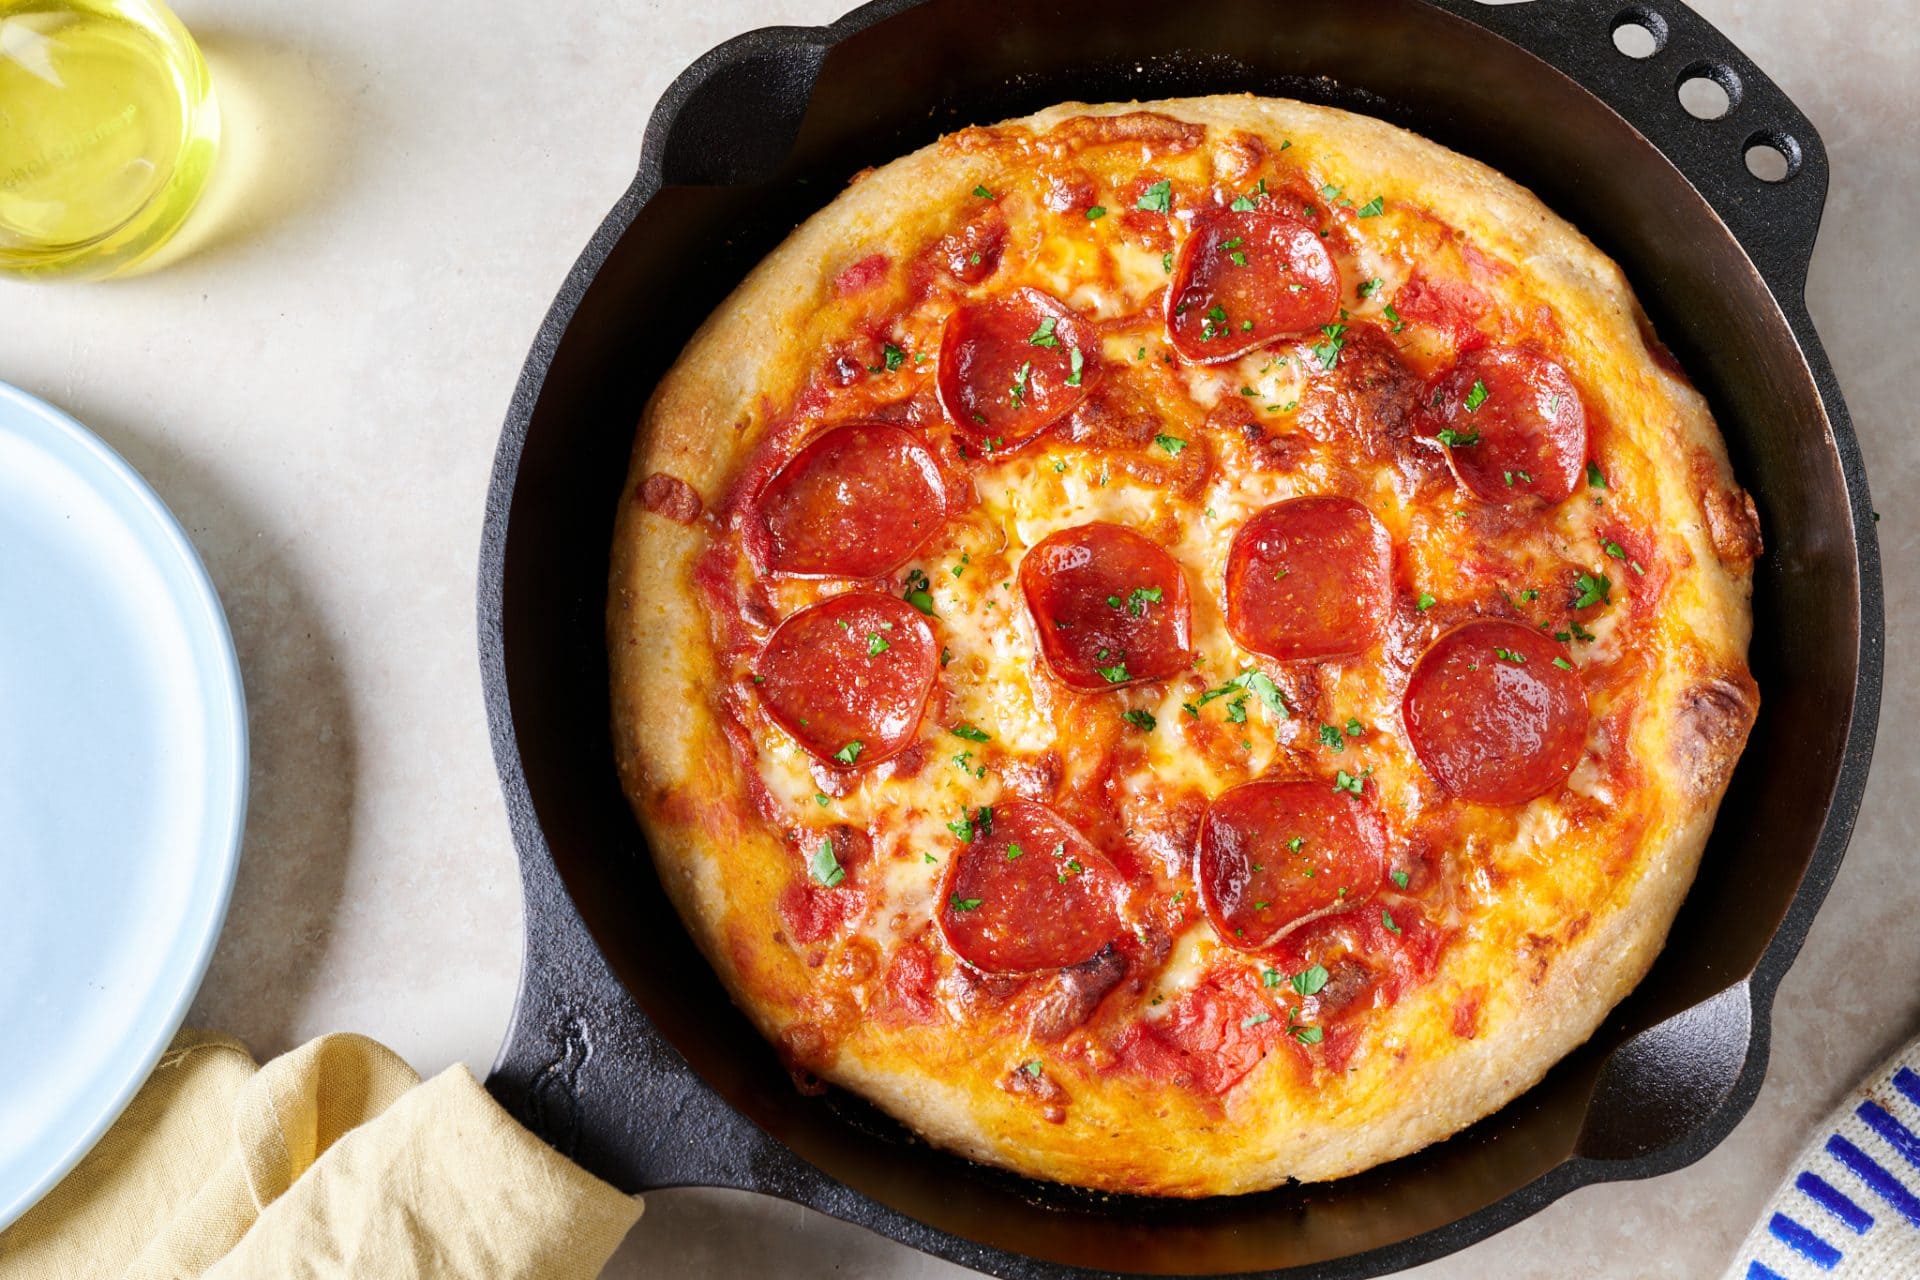
Cornmeal Skillet Sourdough Pizza
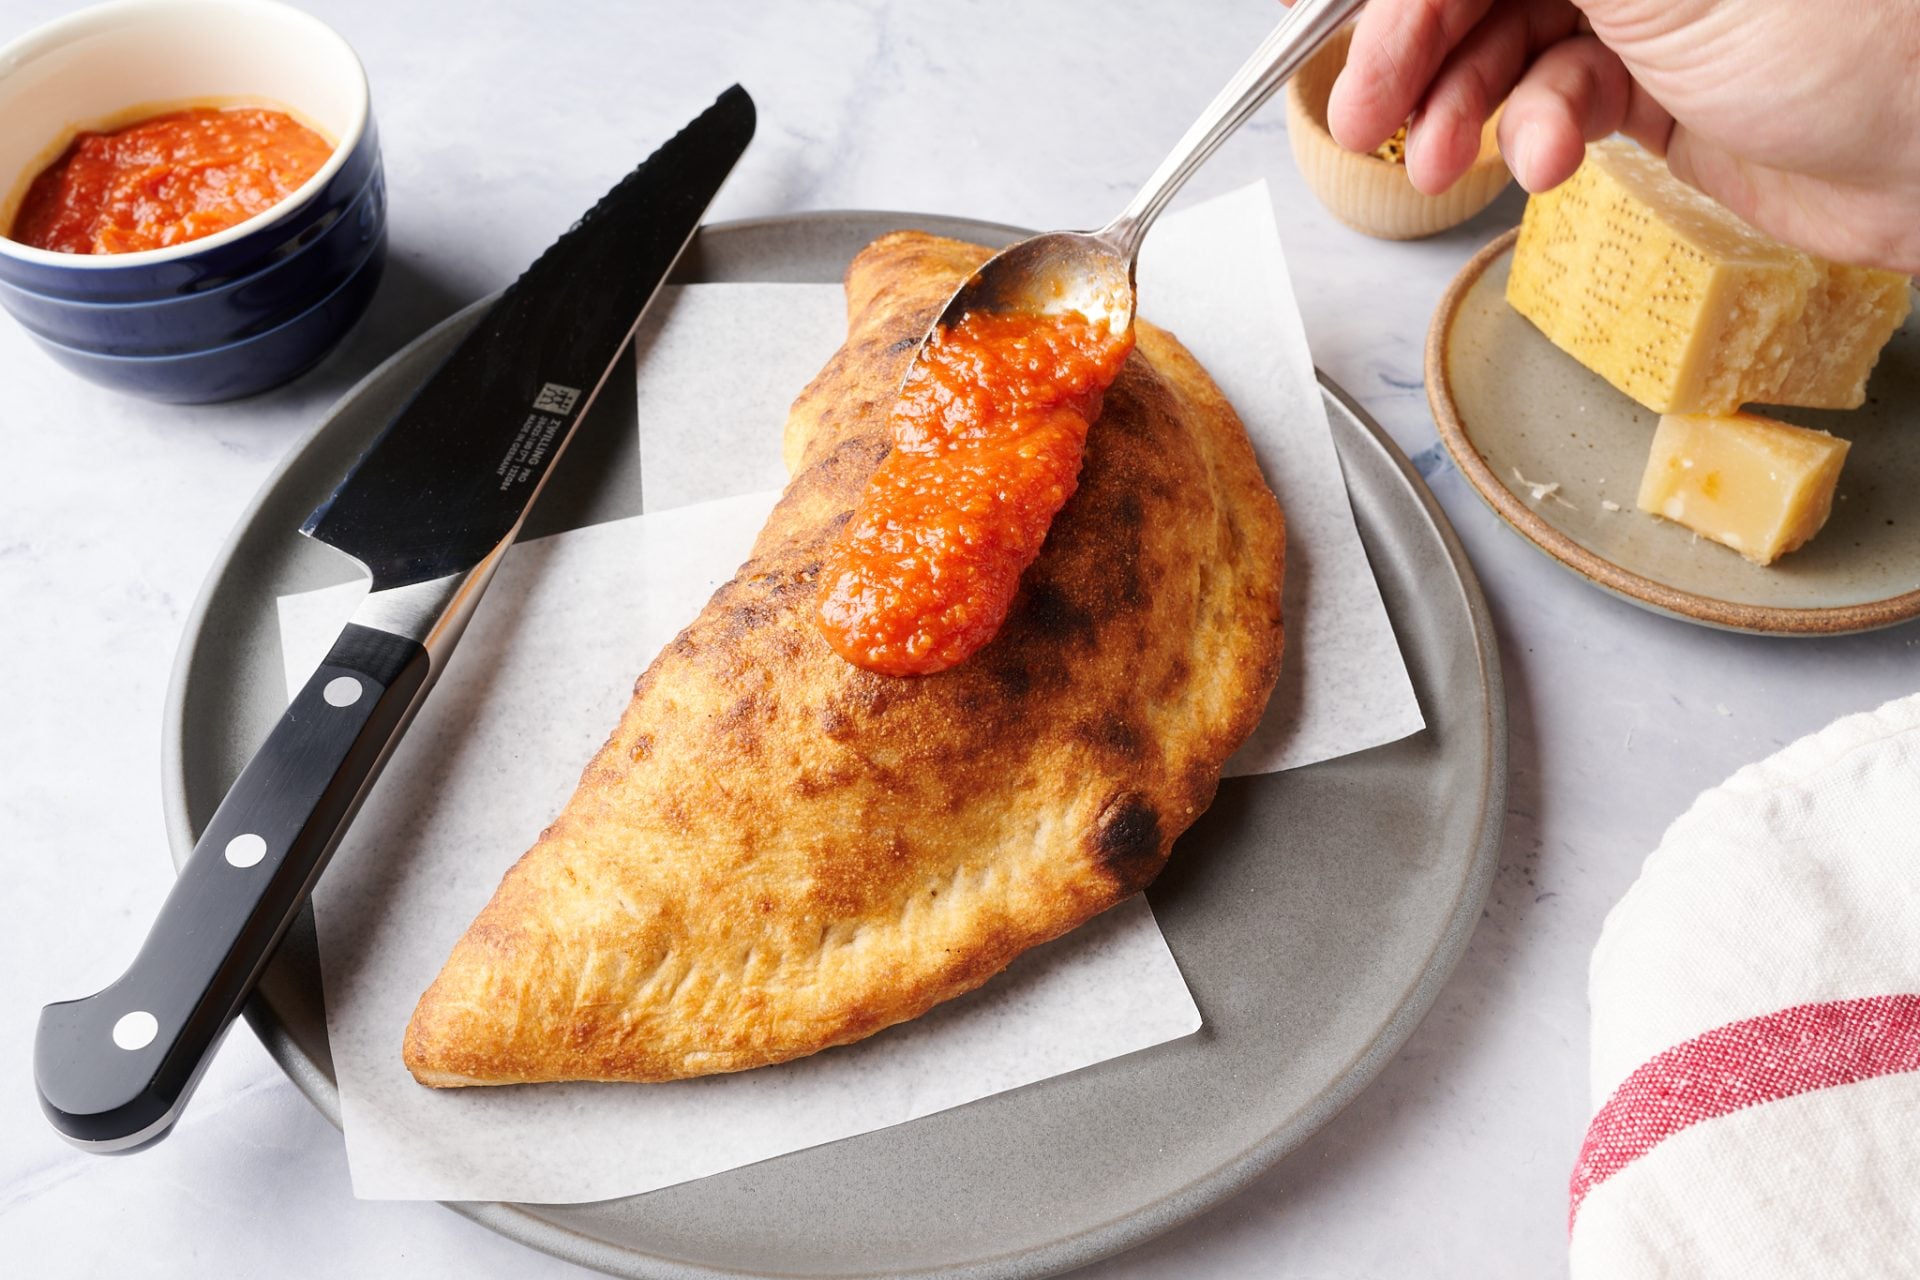
Calzone Recipe
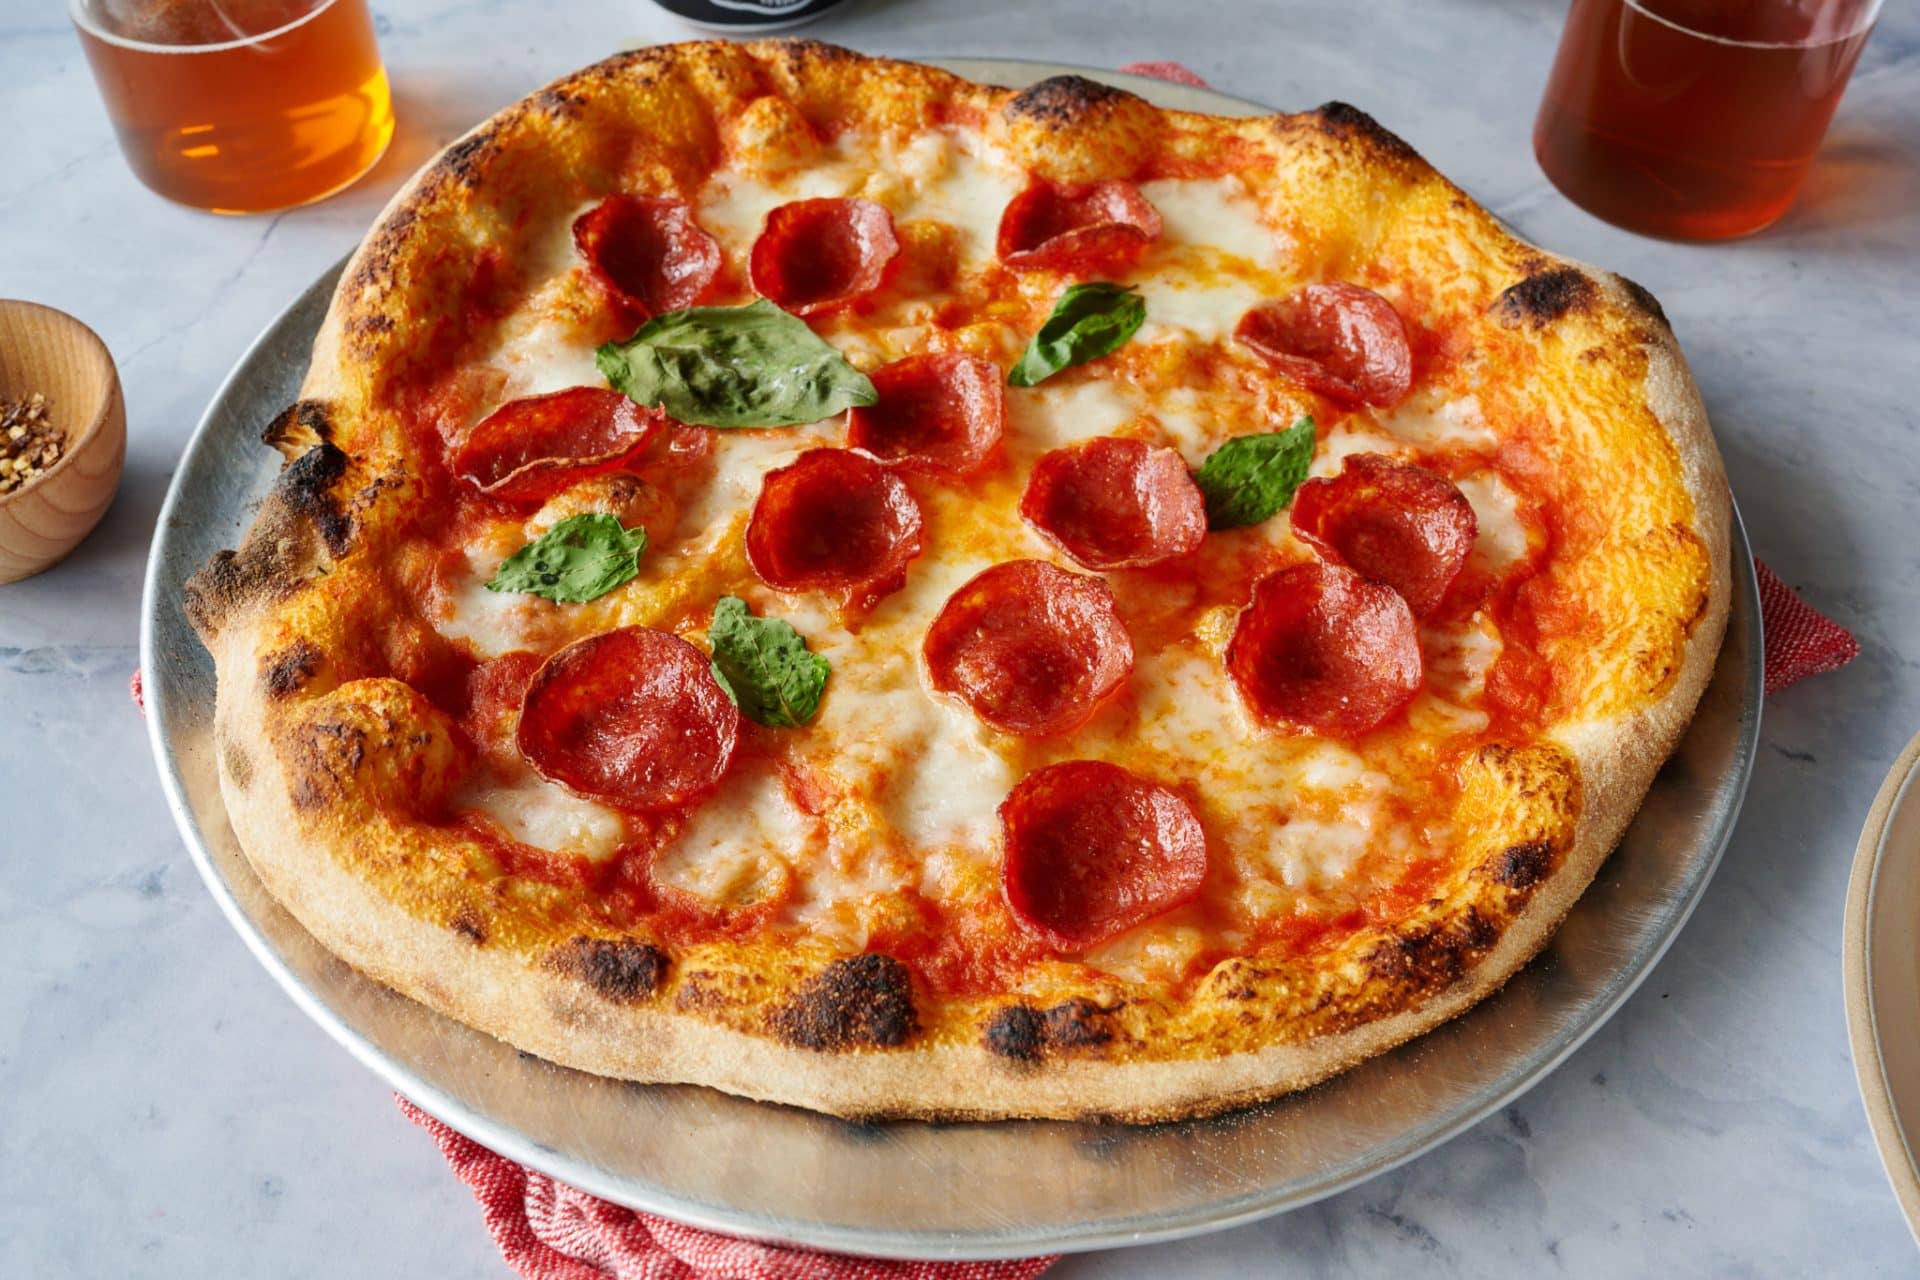
Wood-Fired Sourdough Pizza Dough Recipe
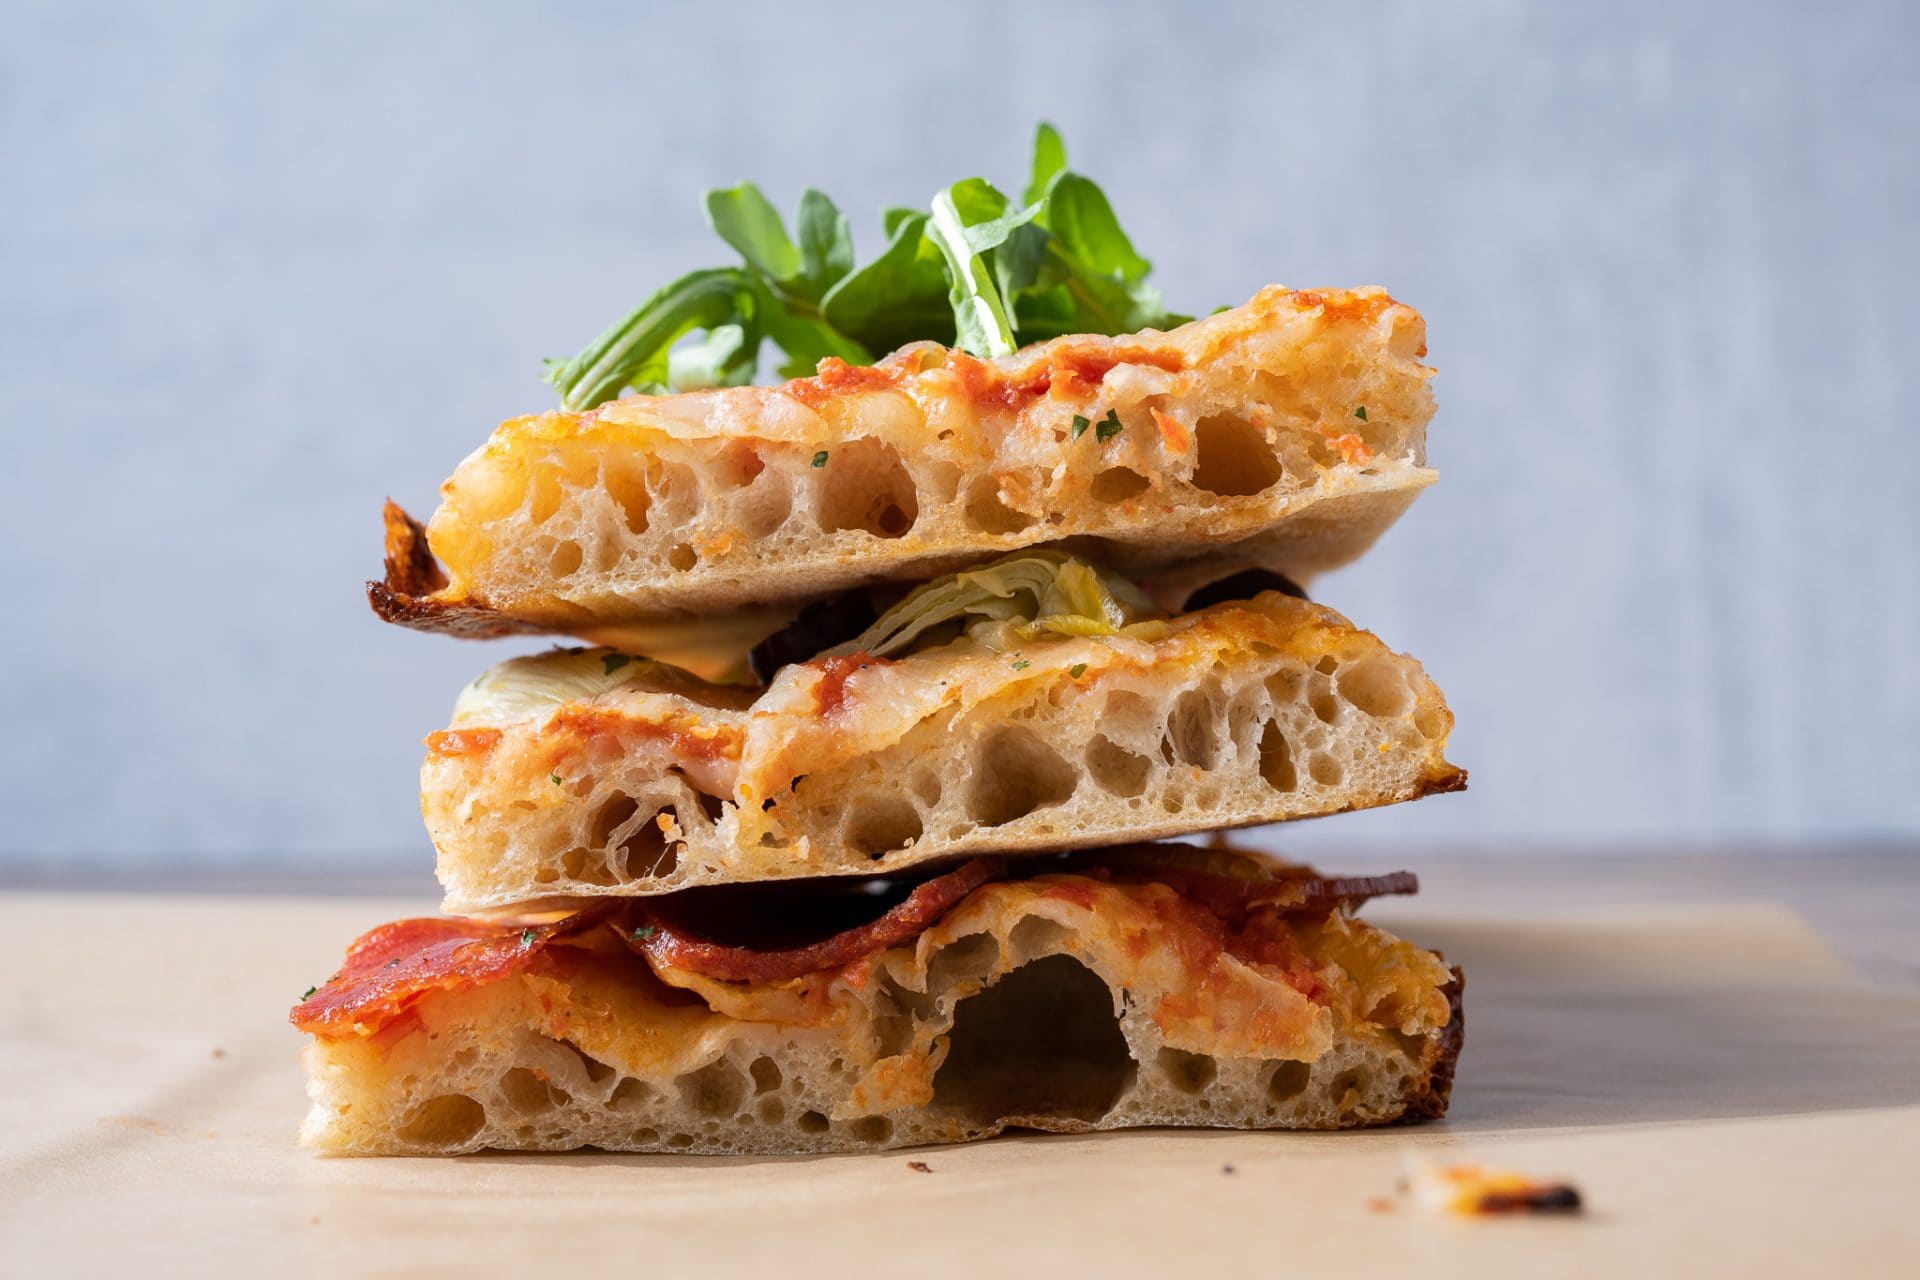
Sourdough Pizza al Taglio
A More Whole Wheat Sourdough Pizza Dough
Sourdough Pizza Dough
What's Next?
Head over to the ultimate guide to sourdough pizza for more dough mixing, handling, and cooking techniques to make that perfect pie in your home kitchen.