I’ve baked many Tartine-style loaves through the years, but only a few from their third book, Tartine No. 3: Ode to Bourdon whole wheat and their oat porridge loaf. Both delicious and worth the little bit of extra work required, but why haven’t I made more of these unique recipes? The answer is just that I haven’t had the time to derail my focus on the constant improvement of my country loaf. Each time I get the opportunity to bake I want to do a “simple” country loaf to try and improve the flavor and texture, to get a more gelatinized interior, and increase the caramelization of the outer crust. But I wanted to take a break for a bit, to explore making this Tartine millet porridge sourdough bread.
When I first bought Tartine No. 3, I just knew there was going to be a recipe using millet. Sure enough, a millet porridge recipe almost opened up to itself as I was perusing the tome. Before heading to my local market to pick up the small amount we needed, I decided to double it and attempt this porridge recipe a few times. My previous oat porridge bakes produced some of my favorite sourdoughs to date, and I just knew, if executed properly, a millet porridge bread would rank equally high on my favorite recipe list.
Why use millet in baking?
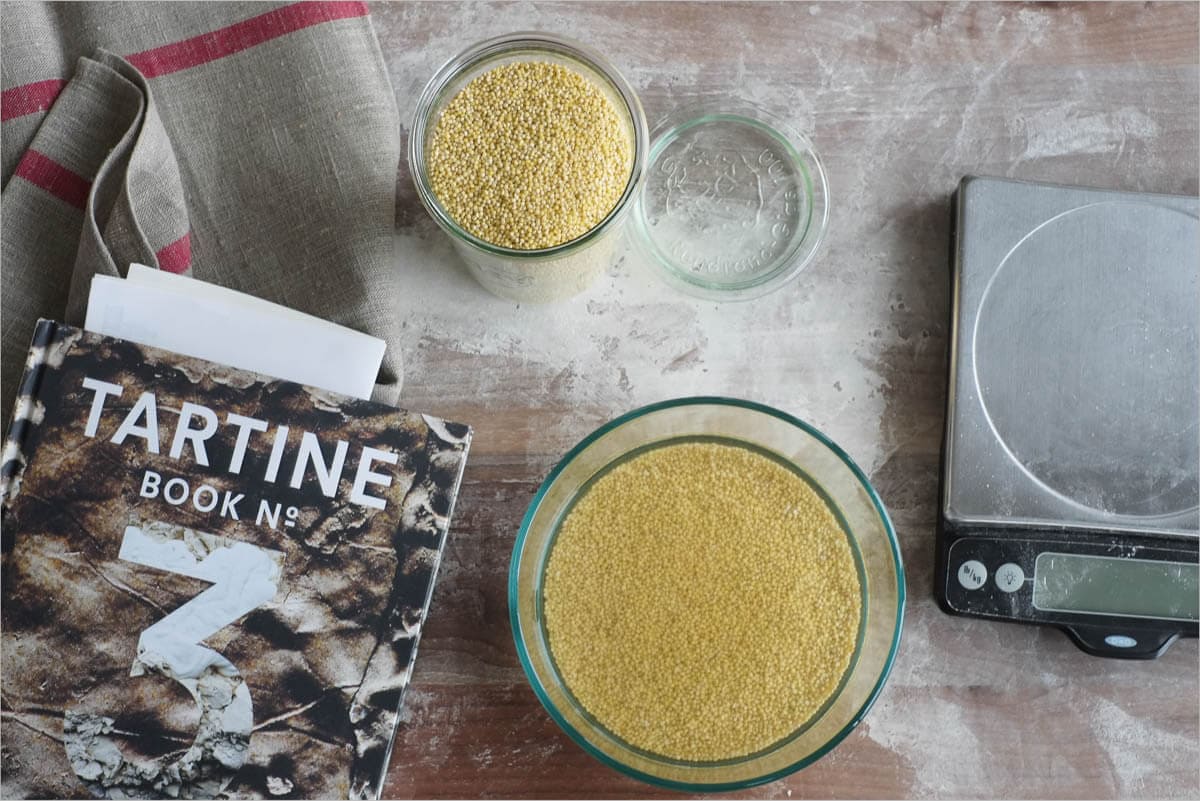
Millet is high in fiber and relatively rich in iron and phosphorus; the bran layers of millet are a good source of B-complex vitamins.
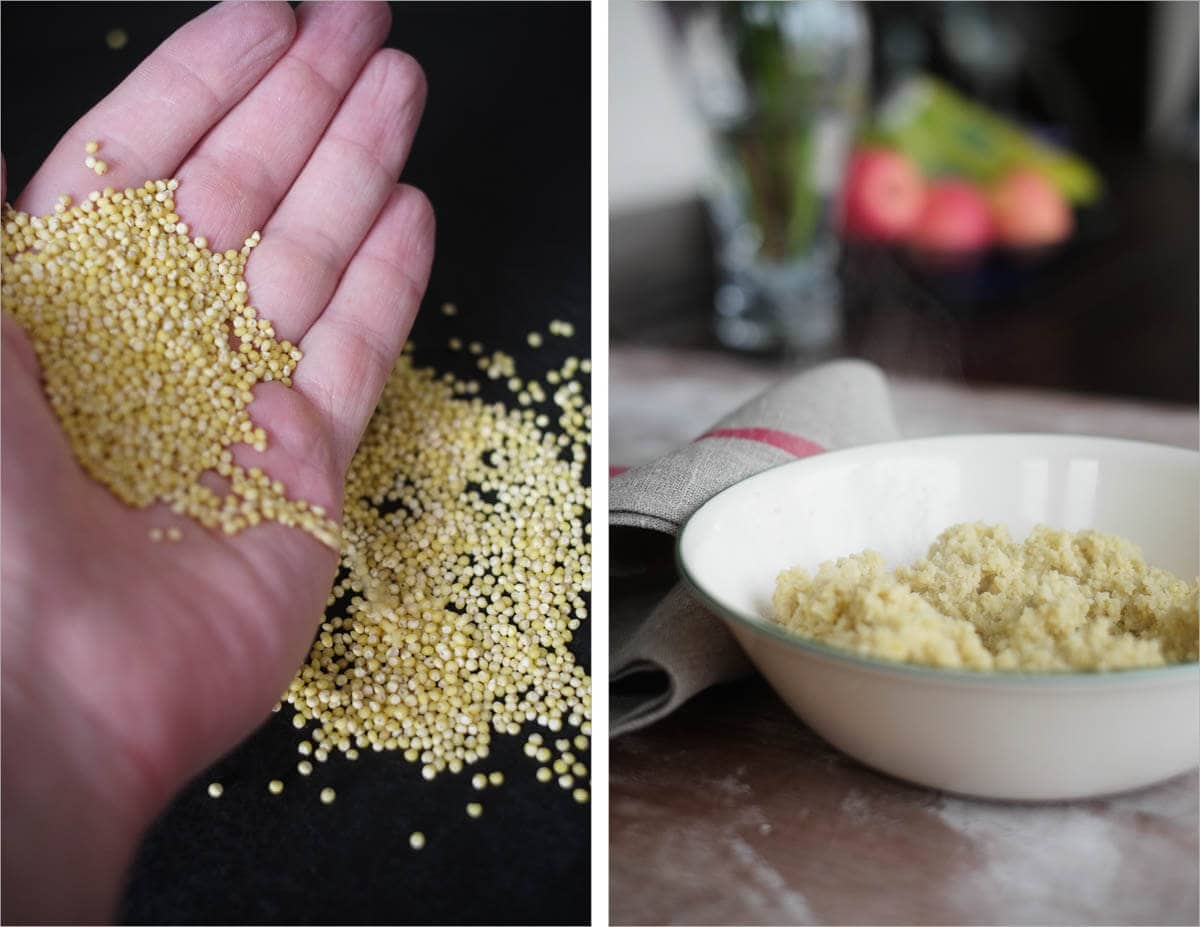
I’ve never really eaten millet before, so I wasn’t sure what to expect. I’ve read adjectives like “nutty” and “crunchy” so how could I go wrong. Holding the grain in my hand, it does look like what most people call it: birdseed. I believe millet has been used as bird food for a long, long time. Isn’t it funny these once cheap and undesirable grains are now becoming desired for their health benefits and flavor?
I knew going into this bake hydration was going to be an issue. However, my lessons learned from the oat porridge loaf had me prepared this time. I dialed back the initial hydration of the loaf in preparation for a super-hydrated dough by the end of bulk. A few minutes of planning before executing saved me from one of those cursing-while-shaping scenarios I’ve been through in the past.
Onward to baking our version of the Tartine millet porridge sourdough!
Prepare the millet – the night before (for me, around 10:00 p.m.)
The Tartine recipe specifies first gently toasting your raw millet and then soaking the toasted grain overnight. Toast 150g raw millet on a baking sheet at 350ºF for about 20 mins. The millet should darken slightly but not burn. Then, remove from oven and place in a bowl with 2 cups cold water poured over.
Cover and leave overnight until the morning.
Cook millet porridge – 9:00 a.m.
Take your soaking millet and pour all the contents into a saucepan and bring to a boil. After boiling reduce heat to a gentle simmer and cover. Cook for around 20 minutes or so, until all the water added from the night before, has cooked away. Be sure to stir often near the end of this 20 minutes to ensure your millet doesn’t burn on the bottom.
Once cooked, fluff up the porridge with a fork in your pan and then pour out onto a baking sheet lined with a silicone mat or parchment paper. Keep covered with aluminum foil with a little vent here and there to let hot air escape. You don't want it to try out too far, but you want it to cool down as much as possible before adding into your dough.
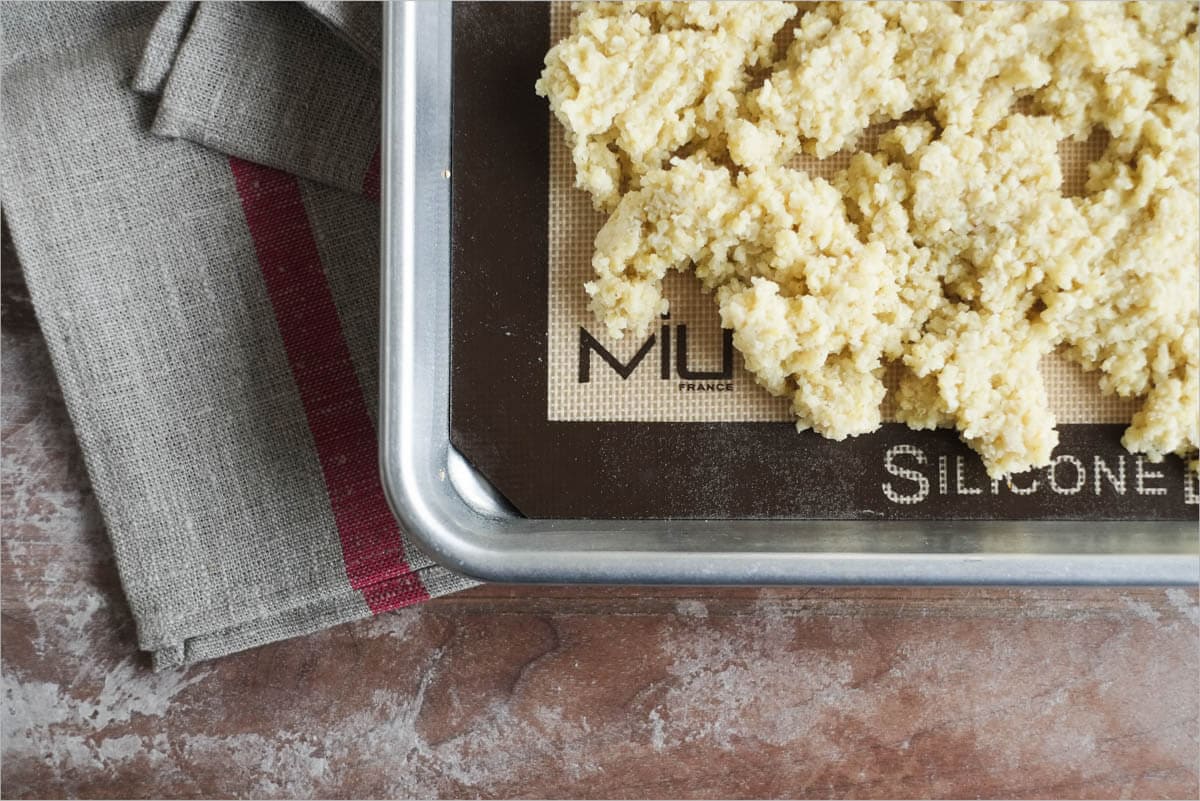
We will let this porridge cool until we’re ready to use it later this afternoon (around 3:00 p.m.).
Prepare the stiff levain – 9:30 a.m.
After you finish cooking and setting out the porridge, let’s work on getting our levain started. Continuing with my stiff starter and stiff levain, prepare a levain early in the morning when you wake. If you don’t have, or care for, a stiff stater a liquid one will work just fine here (you might want to reduce your dough hydration a few percentage points to offset the difference between my 65% hydration starter and your potentially 100% hydration starter).
| Weight | Ingredient |
|---|---|
| 50g | Ripe stiff starter |
| 50g | Whole wheat flour (Great River Whole Wheat flour) |
| 50g | Medium protein bread flour (11-12% protein) (Central Milling Organic Artisan Bakers Craft Plus) |
| 65g | Water |
Keep your stiff levain in a warm area and wait about 5 or so hours until it’s matured enough to leaven your dough. If using a stiff levain you want to use after significant expansion has taken place, but there is still a domed top (i.e., your “stiff ball” has not yet collapsed in the top-middle). If using a liquid levain you want bubbles on top and throughout and still a sweet smell to it, but almost tangy.
Autolyse & Mix – 1:40 p.m.
We will do a one hour autolyse with this dough.
Ingredients:
| Weight | Ingredient | Baker's Percentage |
|---|---|---|
| 200g | Whole wheat flour (Great River whole wheat flour) | 20% |
| 800g | Medium protein bread flour (11-12% protein) (Central Milling Organic Artisan Bakers Craft Plus) | 80% |
| 750g | Water | 75% |
| 20g | Fine sea salt | 2% |
| 200g | Ripe levain | 20% |
| 150g (plus water weight) | Cooked millet porridge (cooled from earlier) | 15% |
Perform the following for your autolyse:
- In a thick bowl add all the flour
- Add 700g of your water (the rest is reserved until later when we add in the levain & salt after the autolyse)
- Mix these ingredients by hand until all the dry bits are incorporated
- Cover with wrap and keep near your levain for 1 hour (in my case in the oven to keep warm)
Slap & Fold Mix after your autolyse – 2:40 p.m.
After our one hour autolyse has elapsed break up the stiff levain on top of the dough and pour on the 20g salt. Pour the remaining warm water on top to help dissolve things and to prepare for mixing.
Slap and fold for about 8-10 minutes until the dough looks smooth and doesn’t stick to the counter.
This initial development of the dough gets things off to a quick start. We strengthen up the gluten in our dough before our porridge is added — once the porridge, with its high water content, is added to the dough it will start to release hydration back into the dough, slackening it. I’ve found this initial slap/fold session, plus numerous turns in the bulk container, help keep the dough strong through bulk.
| Final dough temperature: | 78°F (25°C) |
Bulk Fermentation – 2:45 p.m.
Transfer your dough to a clear container to be used during bulk fermentation and let rest for the first 30 minutes. After the first 30 minutes have passed, perform your first set of stretch and folds.
- 3:15 p.m. – Turn Set 1
- 3:45 p.m. – Turn Set 2 – Gently fold in your cooked millet porridge
- 4:15 p.m. – Turn Set 3 – Dough felt strong here, on the dry side
- 4:45 p.m. – Turn Set 4
- 5:15 p.m. – Turn Set 5 – Dough started to feel gooey and slack
- 5:45 p.m. – Turn Set 6 – Dough slackening as porridge releases water
- 5:45 p.m. – 7:15pm – Rest
As with my previous oat porridge experiences, I felt, even with the set of slap & folds, in the beginning, this dough could take as many stretch and fold sets as I could throw at it. The added hydration in the cooked millet porridge slackened the dough significantly by the end of bulk, as expected. It wasn’t unmanageable, be ready for a slightly more sticky and messy shaping endeavor. This is one reason I typically will only do boules with this type of bread: a boule, for me, is a much easier shaping endeavor and can be done quickly without much interaction1.
Pre-shape – 7:20pm
Gently pour out the dough from your bulk container and divide the dough roughly into two halves. The dough is sticky so be ready with a little extra flour than usual. Quickly divide the mass into two halves and pre-shape into two fairly tight boules to rest for 20 minutes.
Cover with inverted bowls or damp towels to keep the resting dough moist. Not that there isn’t enough hydration in the dough.
Shape + Proof – 7:45, Then in Fridge at 9:50pm
Optional: Prepare a kitchen towel next to your bench with some raw millet spread out in a circle. After your dough is shaped, you will quickly invert the boule onto this resting millet to coat the outside-top of the loaf.
After your 20 minutes pre-shape rest, shape each dough mass into a taut boule. I still perform the traditional letter-fold boule shaping. Lightly dust the top of the resting dough and invert onto your bench. Lift and stretch out the bottom part so it folds up and over about 3/4 toward the top, gently press to seal. Take the right side, stretch out away from the center and back up and over to the left side. Repeat with the left. Take the top and stretch it up and away from the center, and then down all the way over to the bottom of the dough. Gently, using your two hands, twist the dough on the bench until there is a firm surface — make sure it’s relatively tight! However, be sure not to twist too vigorously as any trapped gasses can easily escape here. You want a nice smooth surface where the dough will hold its shape after you are finished.
Lift your boule and quickly invert it onto your resting towel holding raw millet. Give it a second rest. Now scoop the boule up and place into your dusted proofing bowl, raw millet-side down. Cover with your plastic bags and let set out on the counter in your kitchen for 1-2 hours to give your dough a little proofing boost2. If your fridge is like mine (around 37ºF) we do this 1-2 hour rest to give these loaves a head start on fermentation before placing them into the colder-than-optimal fridge overnight.
See my post on shaping a boule for more instruction (with video) on shaping a round loaf.
Score + Bake – around 10:50am
Place your empty Dutch oven in your oven (the shallow side to one side/lid, and deep side to another) and preheat your oven to 450°F (232°C). After one hour, take one of your bannetons out of the fridge and cut a piece of parchment paper to place on top. Take your peel and then put it on top of those two and quickly invert it, so the dough is now resting on the parchment paper which is resting on the peel.
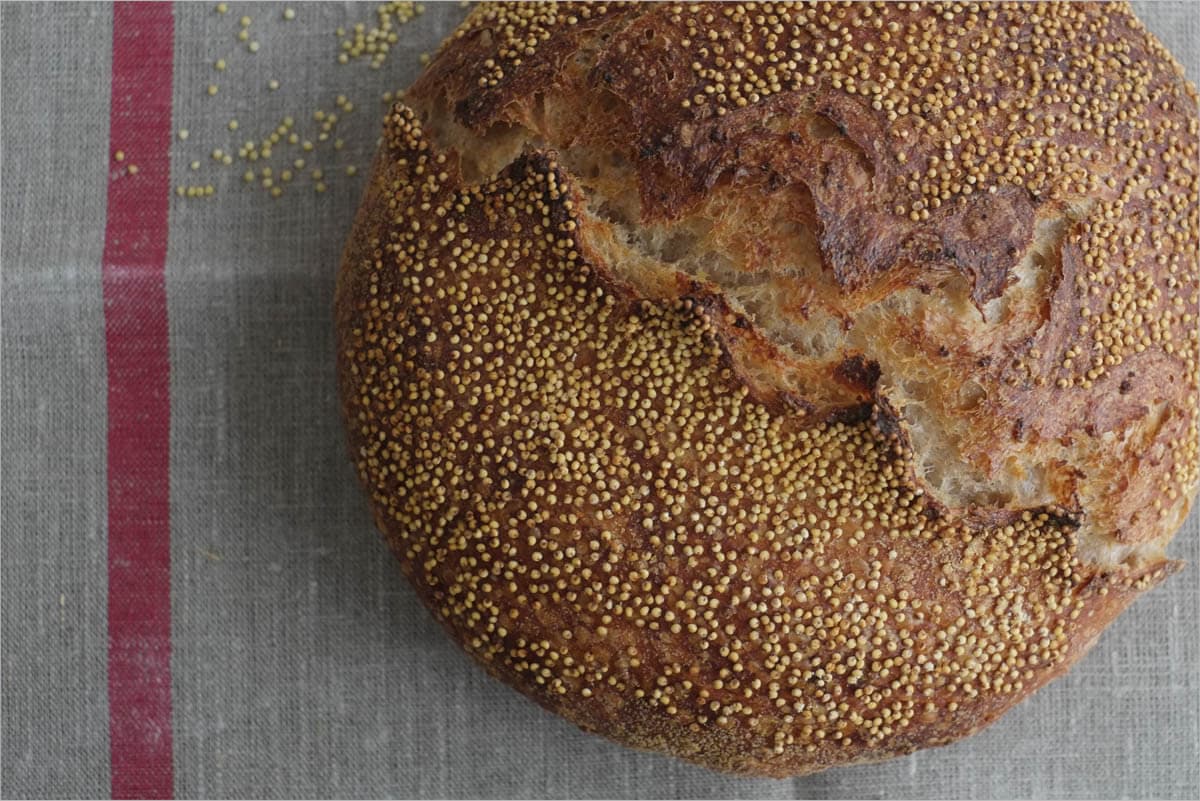
For porridge loaves, I like to do my scoring with a pair of kitchen scissors. Just snip from top to bottom forming a “sawtooth” pattern. This pattern will let your loaf open up nicely and gives it a rustic touch when baked. Keep your scissors almost at a 45° angle to the dough; you aren't cutting down into the dough, it's more at an angle.
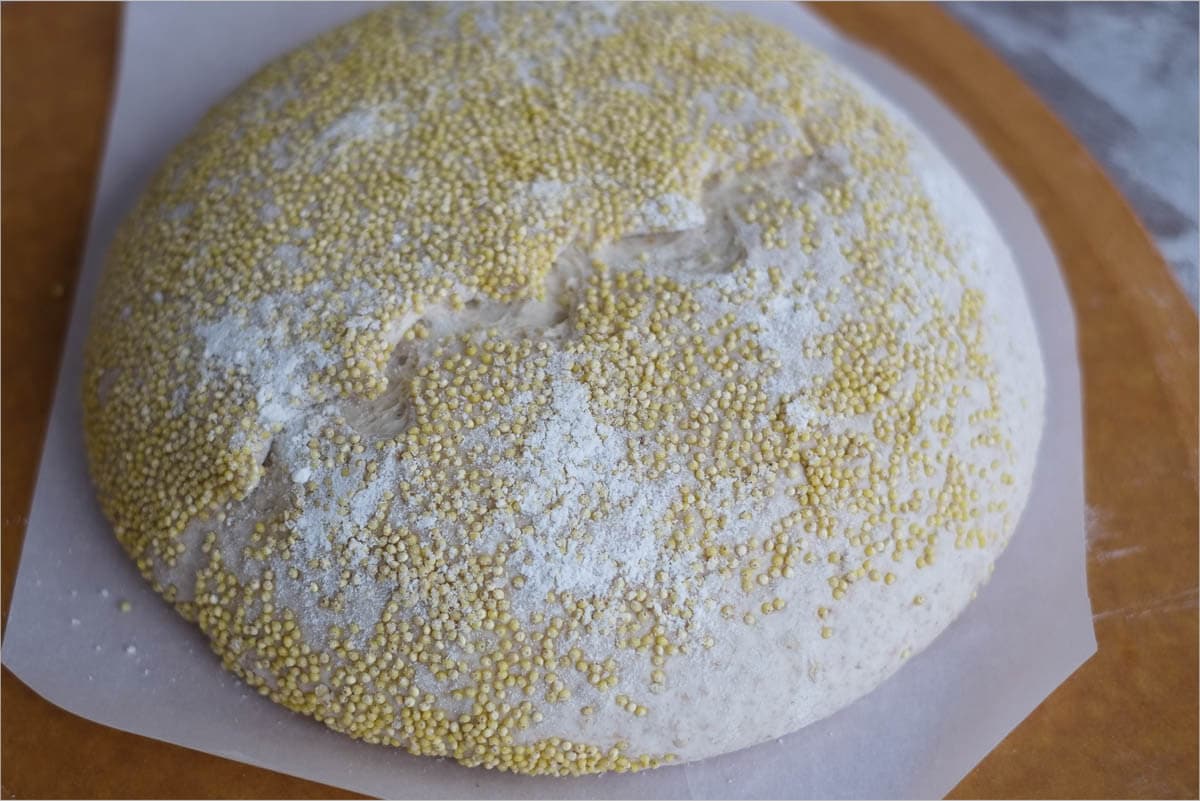
Take out the shallow side of your Dutch oven and drag in your dough. Quickly place the pan back in the oven, cover with the deep side, and bake for 20 minutes. After 20 minutes, open the oven and take off the lid of the Dutch oven (set it next to the other half inside the oven), then cook for an additional 30 minutes or so, until the bread is to your desired doneness.
After you pull the loaf from the oven, resist cutting into it for as long as possible. With this porridge bread, the interior is very delicate and needs time to set—at least a few hours, overnight if possible. See my post on storing bread dough for why.
Conclusion
When I try this porridge loaf again in a few weeks I’m going to perform one of two changes: increase the amount of whole wheat flour by 5% or decrease hydration another 5%. The result of this bake wasn't bad by any means, the bread turned out pretty incredible, but I think due to the high amount of water absorbed by the millet reducing hydration a tad (or using thirstier whole wheat flour) will help with shaping.
That said, I enjoy the taste of this bread! It’s not a heavy loaf like you might expect when you hear porridge loaf it’s quite light and airy. The percentage of cooked porridge isn't overly high, but it's the perfect amount to give you that subtle millet flavor just after the slight tang wears away.
Crust
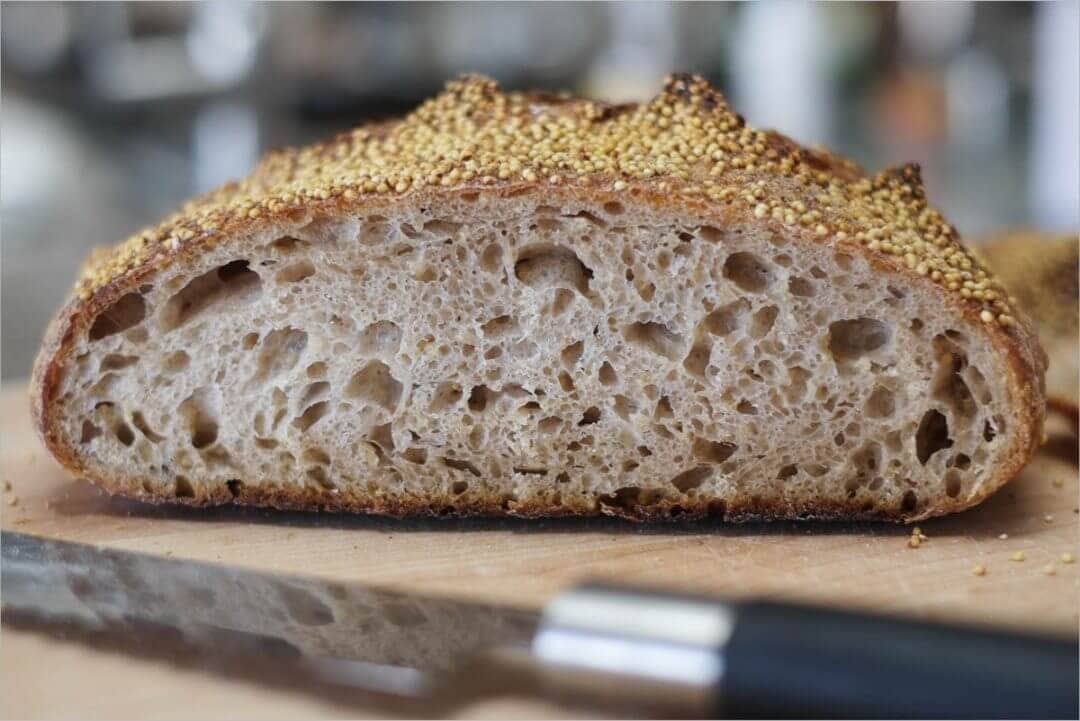
Look at the nice colors on that crust; I love how the scissor score looks like the back of an ancient dinosaur with ridges and all. I feel like I could have pushed the bake a few more minutes to pull out some more deep, dark coloring on those ridges, but the bread did not taste under-baked at all; but as they say, “bake it bold.” Next time.
The raw millet on the exterior has this fantastically crunchy, seedy, nutty, almost grassy taste to it—in an excellent way. The loaf really wouldn't be the same without these awesome little flavor pockets all over.
Crumb
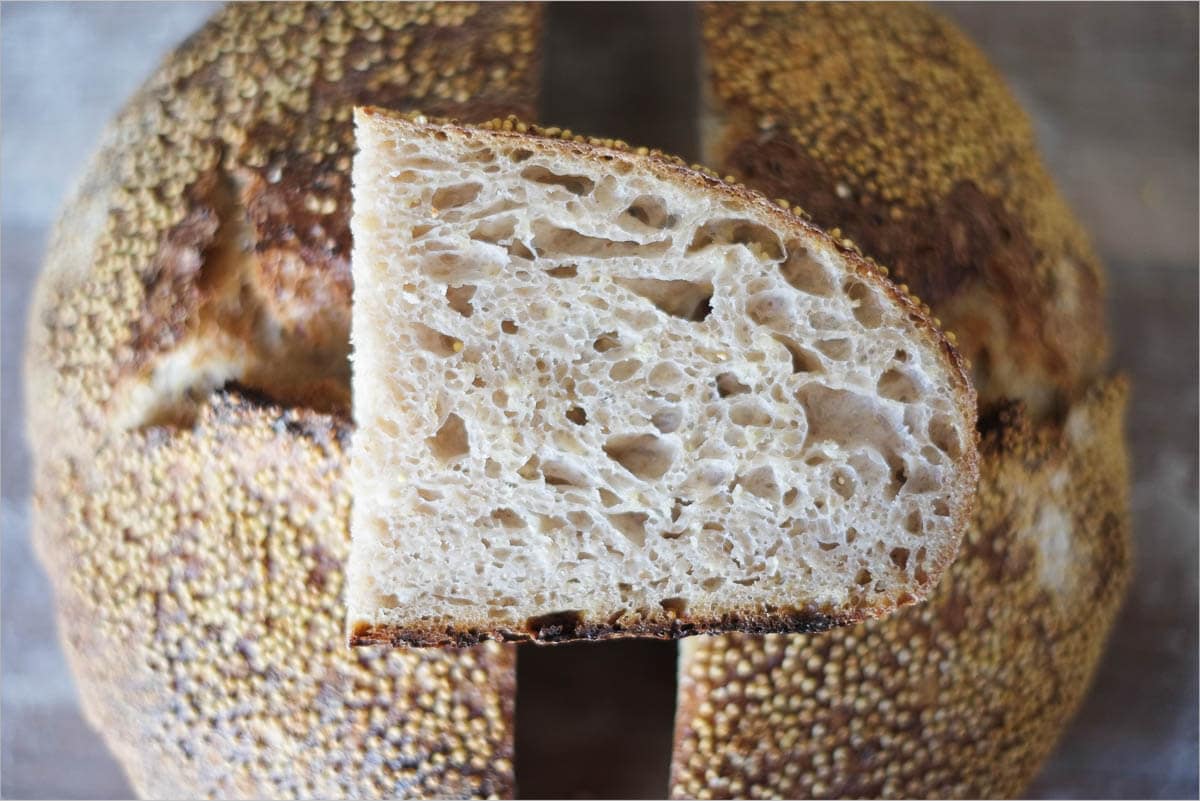
Quite open, light, airy, and just overall surprisingly lovely for a highly hydrated porridge. What you can see in the image below the porridge is thoroughly incorporated throughout the dough and you snag a group of crackly grain on the outside at each bite. It's a beautiful combination, and each bit is a stark contrast between moist and tender interior versus crunchy and crackly exterior. I posted another shot of this beautiful crumb over at my Instagram feed.
Taste
I said it previously, but I love the taste of this bread! Everyone here in the household was clamoring for it right when I pulled it out of the oven. From the moment I sliced into it, demand was high, and it was a race to eat every morning with whatever we were cooking, or heck, just straight away as toast with butter.
Two for two with the porridge bread from Tartine No. 3! If I had to choose between baking a porridge bread next weekend, I'd have to give the win to my oat porridge, but this bread holds its own and is superb. I'm starting to fall in love with each loaf I bake from Tartine No. 3, I can't wait to explore the myriad of other recipes tempting and teasing me every time I open the cover.
Buon appetito!
If you use this recipe, tag @maurizio on Instagram so I can take a look!


