

My sourdough starter has never liked the refrigerator.
But often, I have no choice. Chilling a starter is the best way to slow down its need for feedings. So when I travel or can’t bake for a while, I put my starter in the fridge. As a result, it’s always sluggish to ferment strongly when I pull it out and resume regular feeding. I’d even say it gets cranky—and for a good reason, the cold temperatures of a home fridge (39°F/4°C) inhibit the fermentation activity of the bacteria and wild yeasts that make up a sourdough starter.
In this guide, I show you how I use the Sourdough Home to feed my starter less often (even just once every 5 days!). Be sure to read on to the end for a sample schedule to keep your starter in the Sourdough Home and bake once a week.
After its cold slumber, I must give my starter at least a day, but usually several, of room temperature (or warmer) feedings to stimulate its usual fermentation power. If I try to use it earlier, it will only reluctantly ferment and leaven dough. The entire baking process requires more time, and usually, the resulting bread tastes flat with reduced flavor complexity.
But now that’s all changed with the Sourdough Home.
Why Can’t I Use My Sourdough Starter Straight From the Home Refrigerator?
The very cold temperature of a home refrigerator essentially puts the yeasts and bacteria in a sourdough starter into a form of hibernation. While their metabolic processes don't stop entirely, their activity levels drop, hindering their ability to leaven and produce flavor.
Yeast prefers warm, moist environments to thrive and multiply. Thus, a cold sourdough starter will have less yeast activity than a starter at room temperature. Similarly, the bacteria, which contribute to the distinctive sour flavor of sourdough, are also less active in colder temperatures. Therefore, a cold starter can impact your sourdough bread's texture and taste.
The Sourdough Home, on the other hand, can be set to a temperature that’s cool, not cold. With the ability to keep your starter cooler, but not as cold as a typical home fridge at 39°F (4°C), you can ensure it’s maintaining high yeast and bacterial activity but not so warm it requires feedings once or twice a day.
What is the Sourdough Home?
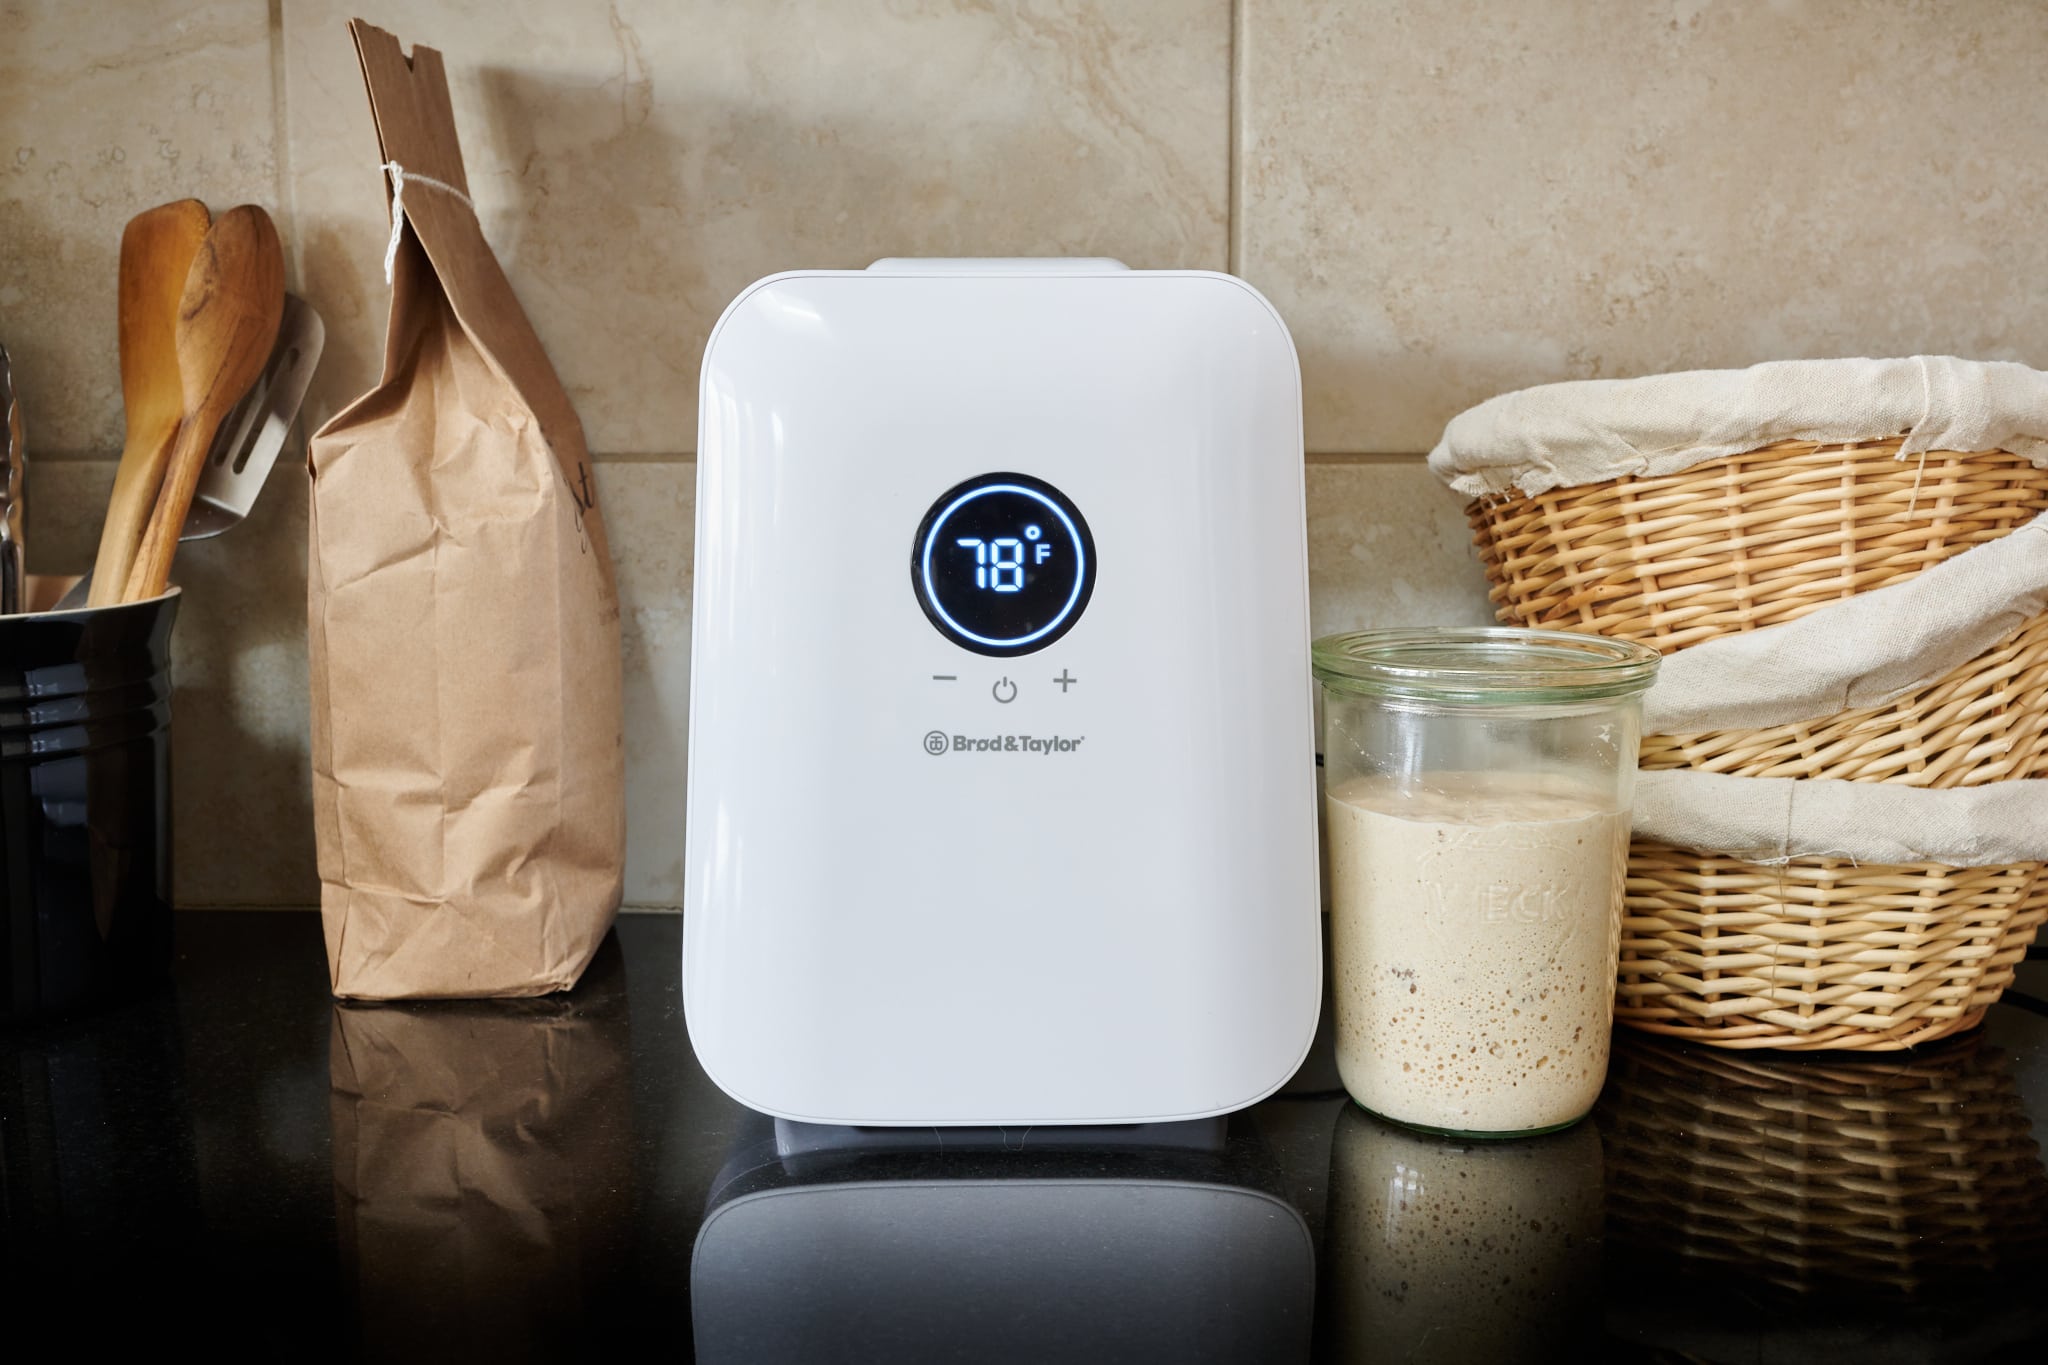
In my previous introduction to the Sourdough Home, I discussed how the device can be programmed to hold your sourdough starter at any temperature between 41 to 122°F (5 to 50°C). Because it both heats and cools, you can use it in warm temperatures to keep your starter cool for reduced feedings; and when the kitchen is cold, it can keep your starter fermenting vigorously and on almost any schedule.
And that’s the key: The Sourdough Home lets you keep a starter on your schedule, not the other way around.
Remember, sourdough is a living, breathing mix of organisms. Its care requires a delicate balance of the right temperature, feeding schedule, and good flour to ensure the best baking results.
The Sourdough Home lets you keep a starter on your schedule, not the other way around.
While the Sourdough Home itself is new, the idea of keeping your starter warmer or cooler to adjust its schedule is not. Bakers have instinctively found cool spots to slow fermentation or warm spots to speed things up for generations. What is novel, though, is just how easily this device aids that intuition.
How do I use the Sourdough Home?
Generally, I use the Sourdough Home in two ways when making bread:
- To adjust my starter’s temperature each day so that when I’m ready to bake, my starter is too
- To cool—but not chill—my starter so I can feed it fewer times each week
Let's look at each.
Keep Your Starter Warm and Vigorous
The first way I use the Sourdough Home is the most obvious: I set it to 78°F (26°C) and keep my starter inside all day, every day. This warm temperature ensures it’s fermenting vigorously and is ready for me to use for making a levain at two points during the day (morning and evening).
The thing some might miss with this is that, yes, in the winter, the device warms your starter to hold peak fermentation activity, but in the summer, it cools to ensure your starter doesn’t get too hot over 78°F (26°C). It’s essentially an incubator that keeps fermentation activity where it needs to be.
Feed Your Starter Less By Keeping it Cool
The second way I use the Sourdough Home is to pause my baking during the week. Keeping a starter cool, but not cold, is a powerful way to slow fermentation activity without putting it in a state of hibernation. Playing with cool temperatures between 45-55°F (7-13°C) can make it possible to stretch out the time between starter feedings—but still keep it in a state of readiness.
In other words, the starter remains warm enough to properly ferment the dough for a tall rise and flavorful bread.
Let’s look at several of the temperatures and schedules I’ve successfully tested—but first, a question I know I will receive…

Wait, Can I Use My Sourdough Starter Straight From the Sourdough Home?
My preference when baking sourdough bread is almost always to make a levain, a preferment that sets the stage for consistent baking. When baking after using the Sourdough Home, I still make a levain, regardless of the temperature the device sets or how long my starter has been inside.
Considering that every starter is a bit different, it may be possible to use it straight from the Sourdough Home and directly mix it into a dough. Because the 2 and 3-day schedules are warmer, it will be more likely to succeed. However, the longer a starter goes without feedings—even at a cooler temperature—the more I would be inclined to make a levain to start your bake on the right foot.
Now, let's look at a few schedules I've been testing.
My Go-To Sourdough Home Temperatures and Feeding Schedules
With the reduced sourdough starter feeding schedules below, I maintained my starter with the same ratios as I usually would: 20% ripe starter carryover, 100% flour, and 100% water (abbreviated with .2 / 1 / 1). For the flour, I use 20% whole-grain rye and 80% medium-protein white (or all-purpose flour).
For example, my feeding is usually 20g ripe starter carryover, 20g whole grain rye, 80g white flour, and 100g water (at room temperature).
Because all of these schedules start with the same sourdough starter and ratios, you can simply change the temperature of the Sourdough Home to determine how long it’s going to rest in there unattended.
| Sourdough Home Temperature | Time Between Feedings (Refreshments) |
|---|---|
| 55°F (13°C) | 2 days |
| 50°F (10°C) | 3 days |
| 45°F (7°C) | 5 days |
In testing the schedules below, I used my Beginner’s Sourdough Bread recipe, including making the levain from my starter directly from the Sourdough Home kept at the specified temperature and feeding duration.
Schedule One: How to Feed Your Starter Every Two Days
This is the shortest of the durations. I keep my sourdough starter in the Sourdough Home at 55°F (13°C), then on Day 3 in the morning, use it to make a levain for mixing a dough that day. At the same time, I feed my starter and put it back in the Home for another couple of days and repeat the cycle. This temperature is cool, but not so cold that it drastically impacts my starter. It’s like stepping off the soccer field for a short water break, then running back on, ready to play.
I usually feed my starter twice a day, but with my starter at this temperature, I was able to skip three feedings (with no action at all on Day 2!). While this may not seem like a lot of savings, it allows me to forget about my starter for a short while and get back to baking when I can.
| Day 1 | Day 2 | Day 3 | |
|---|---|---|---|
| Morning | Starter: Feed (.2 ripe starter/ 1 flour / 1 water) | Starter: No action | – Make levain to mix that day – Starter: Feed and place it back in the Sourdough Home |
| Evening | Starter: No action | Starter: No action | Starter: No action |
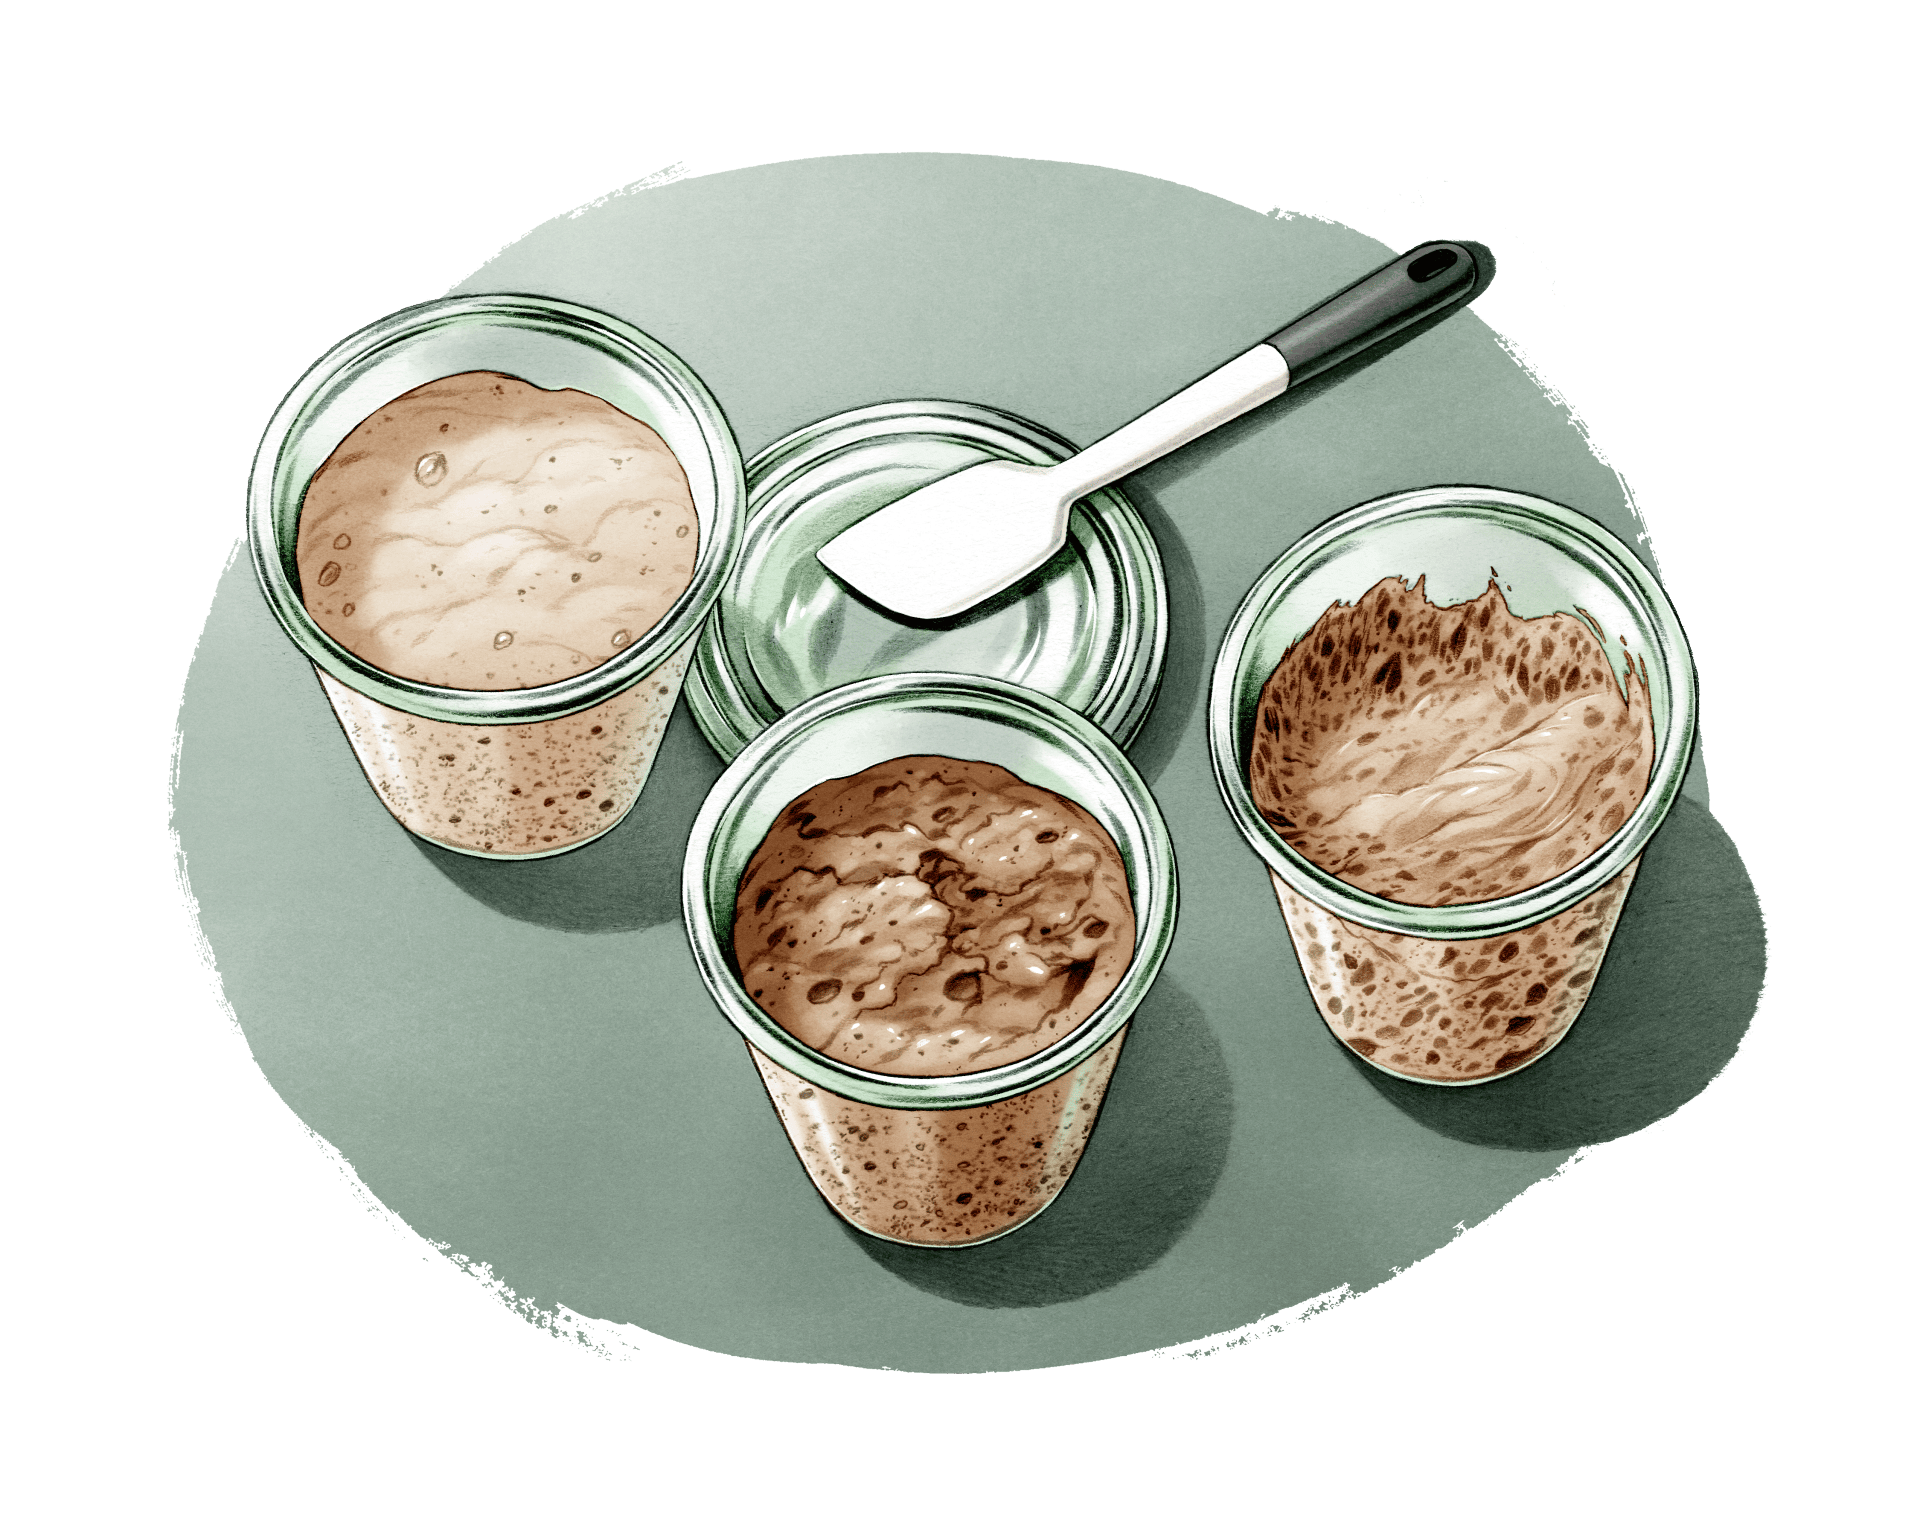
Coming out of the Sourdough Home on Day 3, my sourdough starter looked exactly like it would have looked on any given day. After making a levain from this two-day stored starter and baking with it, I produced the following loaf:

The results were essentially the same as if I had fed my starter twice a day and kept it warm at room temperature. The crust was thin and crunchy, and the interior was light and airy—a delicious loaf of sourdough bread.
Schedule Two: How to Feed Your Starter Every Three Days
To reduce starter feedings even further, drop the temperature down to 50°F (10°C). As in the schedule above, feed it as normal in the morning on Day 1, set the Sourdough Home temperature, and forget about it until the morning of Day 4.
| Day 1 | Day 2 | Day 3 | Day 4 | |
|---|---|---|---|---|
| Morning | – Starter: Feed (.2 ripe starter/ 1 flour / 1 water) | Starter: No action | Starter: No action | – Make levain to mix that day – Starter: Feed and place it back in the Sourdough Home |
| Evening | Starter: No action | Starter: No action | Starter: No action | Starter: No action |
Here’s how my starter looked coming out of the Sourdough Home on Day 4. You can see the starter has risen in the jar, is bubbly on the sides and top, and looks, well, like a normal ripe sourdough starter. This is good!


The results were fantastic. The levain mixed from the starter right from the Sourdough Home fermented as normal, as did the resulting dough mixed with the levain.
Schedule Three: How to Feed Your Starter Every Five Days
Taking things even further, when the Sourdough Home is set to 45°F (7°C), you can really stretch out the time between feedings. Still, even at a cool temperature, five days is a long time to go without refreshing a sourdough starter, and I see it as the most stressful of all the schedules. It’s more stressful because it’s been so cold for so long, and in need of new food (flour) for metabolic activity. It’s like being on a fast, we can do it for a while, but eventually, we need food for energy.
However, because the temperature of the starter is cool but not super-cold, it will still function to make great sourdough bread.
What’s great about this schedule is you can essentially bake only on the weekends, leaving your starter in the Sourdough Home the rest of the time (read on for a sample schedule for this). Like with the other two schedules, the key is you don’t have to do any feedings to ramp up your starter—just use it to make a levain immediately.
| Day 1 | Day 2 | Day 3 | Day 4 | Day 5 | Day 6 | |
|---|---|---|---|---|---|---|
| Morning | Starter: Feed (.2 ripe starter/ 1 flour / 1 water) | Starter: No action | Starter: No action | Starter: No action | Starter: No action | – Make levain to mix that day – Starter: Feed and place it back in the Sourdough Home |
| Evening | Starter: No action | Starter: No action | Starter: No action | Starter: No action | Starter: No action | Starter: No action |
Here’s how my starter looked coming out of the Sourdough Home on Day 6. After placing my starter inside, it continued to ferment and rise even in the cold temperature, and near the end of Day 5 and on Day 6, it just sort of stopped and hung out there at the peak height. There were plenty of bubbles on top and at the sides, it was well-aerated, and it may have even fallen just a bit (which is okay). The aroma was mild, but there were hints of acetone, which is an indicator that it’s getting close to needing a feeding.


I found that when I made a levain from this colder starter, it took my levain 30 minutes longer than usual to ripen. Be sure you adjust the levain mixing water (by warming it) to compensate or give it a little more time before mixing the levain into the dough. As always, you want your levain to have risen in the jar, be bubbly on the sides and top, and have a sour aroma with a loose consistency.

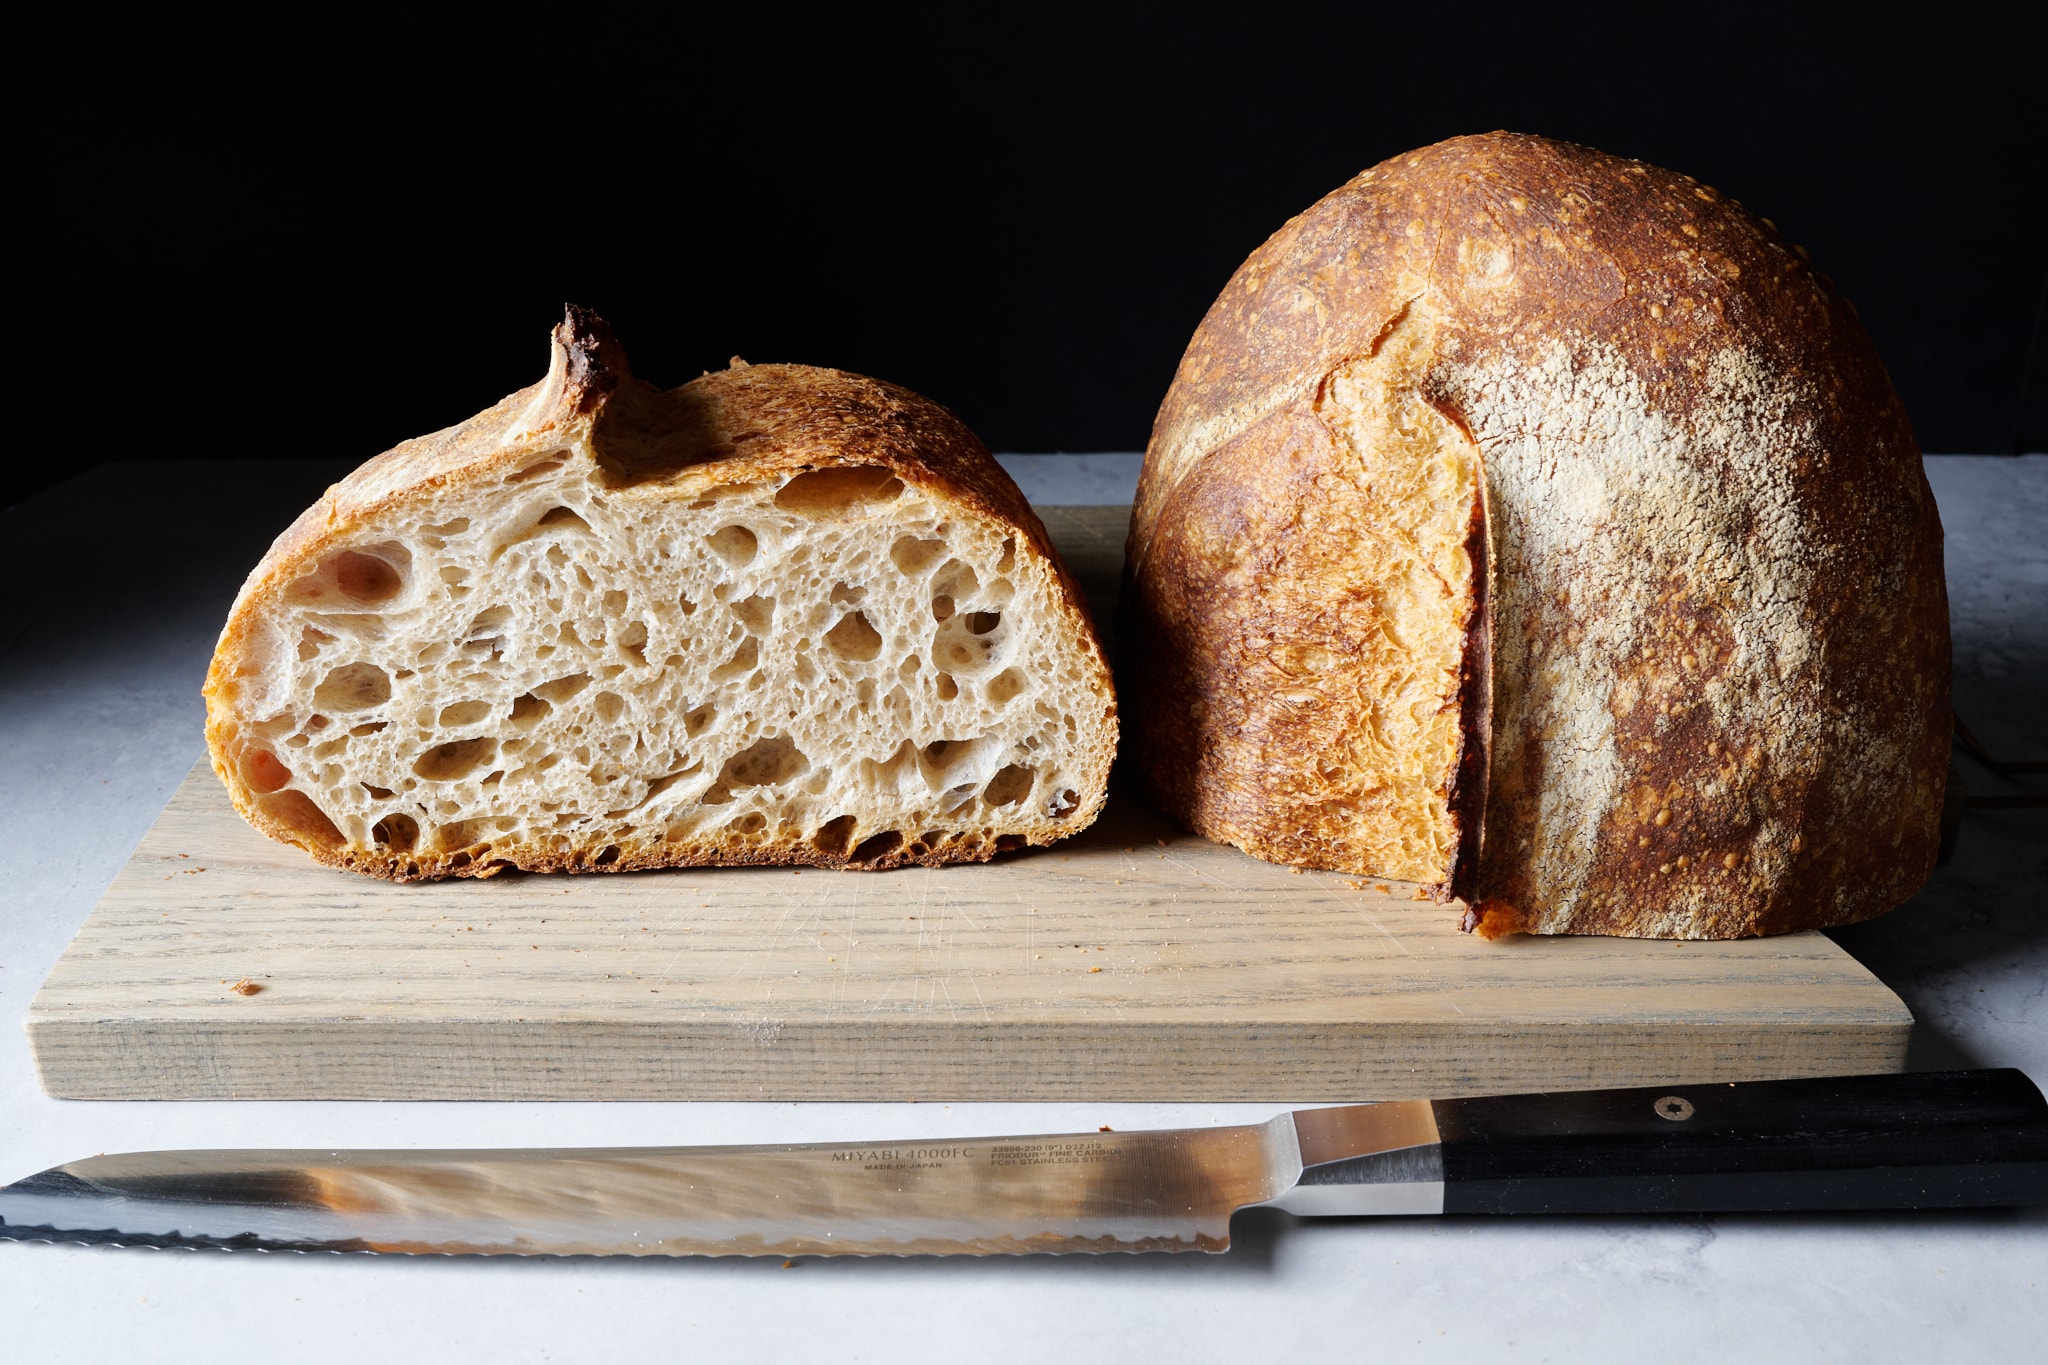
Still, the results were really great. The dough fermented well and the final loaves sprung up with a beautiful crust and great flavor. For having such a simple starter feeding schedule, I'm more than happy with baking this way from time to time.
An Example Schedule to Bake Once a Week
Let’s say you want fresh bread for Sunday dinner, but you want to minimize sourdough starter feedings (and attention!) during the week. This is the schedule and settings for the Sourdough Home I would use to make it happen.
When transitioning to this schedule, the best way to begin is feed your starter and put it into the Sourdough Home at 45°F (7°C) the day you want to bake in the future.
For example, if you want to prepare dough for baking on Saturdays as shown in the chart below, make a levain and mix your dough as usual, then place it into the Sourdough Home at 45°F (7°C). Then, follow the actions listed in the chart to maintain it and make a levain every Saturday.
| Monday | Tuesday | Wednesday | Thursday | Friday | Saturday | Sunday | |
|---|---|---|---|---|---|---|---|
| Morning | – Starter: No action (starter is in the Sourdough Home from last Saturday at 45°F/7°C). | Starter: No action | Starter: No action | Starter: feed and put in SDH at 55°F (13°C) | Starter: No action | – Make levain – Starter: feed and put in SDH at 45°F (7°C) | Bake loaves (in morning, afternoon, or evening) |
| Evening | Starter: No action | Starter: No action | Starter: No action | Starter: No action | Starter: No action | – Mix dough, retard overnight – Starter: No action | Starter: No action |
Sourdough Home FAQs
What size Weck jar fits in the Sourdough Home?
I use a ¾ liter Weck jar, but the 1-liter tulip jar will also fit.
Do I need to keep my starter jar covered in the Sourdough Home?
While unnecessary, I do still cover my sourdough starter when it’s in the Sourdough Home. The unit is mostly sealed, which helps keep the humidity at the right level, but placing the cover on my jar is a habit for me, and extra insurance just so no outside debris falls inside.
What if I need to keep my starter at a temperature below 41°F (5°C)?
The Sourdough Home doesn’t cool down this far. If you need a temperature below this, use your home refrigerator!
What’s Next?
The Sourdough Home is such an effective tool for the home baker because it allows you to adjust your starter-feeding schedule to fit around your schedule. This means you can bake only on the weekends, a couple of times a week, or every day—it’s up to you.
Since I bake just about every day, I’ll continue to maintain my starter with two-a-day feedings, but for those days when I know I’m not going to bake, I now have the option to put it on pause for two, three, or even five days, without resorting to using the super-cold home fridge. This means less downtime when I want to get back to baking again.
That’s refreshing.
Want to learn how to store your sourdough starter for a long time (like a month)? Check out my guide to storing a starter for even longer.
