
In my early day of baking sourdough bread, I didn't quite appreciate the importance of temperature and its impact on the entire process. Not only does temperature set the pace and vigor of fermentation, but it can also have a profound effect on the flavor and texture of your final loaf of bread. In this article, I'll outline how to use the Brød and Taylor dough proofer to help keep your sourdough starter strong, keep your bread dough warm during bulk fermentation and proof, and a few tips and tricks I've picked up along the way.
Temperature is one of the most important things to pay attention to in bread baking.
Overall, the monitoring and control of temperature in bread baking will help increase your baking consistency. By using a compact proofing chamber, we have more control over the dough's environment. This stable microclimate is repeatable, and predictable and lets us take one of the variables out of the bread-baking equation.
Before we dive in, I want to say thanks to Brød & Taylor for sponsoring this post. I reached out to them for clarification on a few aspects of the proofer after receiving several emails from bakers who received a new proofer over the holidays. Many of their comprehensive replies (with lots of delicious thermodynamics, engineering, and scientific details1) have made their way into this article.
Let's first start high level, and go over what the Brød and Taylor proofer can do.
What is a dough proofer?
A dough proofer is an apparatus that helps you maintain a warm temperature for your starter, levain, and dough. The Brød and Taylor dough proofer will only warm your dough; it doesn't have a cooling element (that's what a dough retarder is for). But this is fine because most of the time, as home bakers, we're looking for a way to warm our dough rather than cool—and this is especially true when baking sourdough bread in the winter.
How does the Brød and Taylor dough proofer work?
The proofer has a large metal heating surface at the unit's bottom. When you choose a temperature through the controls at the side, this plate heats the box's interior using thermal radiation2 until it reaches your desired temperature.

When you select a temperature for the proofer, it will begin heating until the interior reaches that temperature, and it will keep it there until you change the temperature or turn the unit off. It maintains the temperature by cycling on and off the heating plate. If the chamber's temperature dips below the target, the unit will begin heating once again until it reaches the desired temperature.
You might wonder if the heating plate turning on and off to maintain temperature would result in temperature fluctuations in your dough. In practice, this isn't the case. Because the container is held above the heating plate with no direct contact, there won't be sufficient direct heat transfer in the small bit of time the plate is heating3.
An important point about the proofer: the temperature inside the proofer (the air filling the chamber) will not be precisely the same as the temperature you set on the control unit at the side. Why? Because the proofer was designed and calibrated to ensure the objects (jars, bowls, etc.) on the wire rack will be at the target temperature. Which is the goal in the end.
Let's look at general use cases for the Brød and Taylor dough proofer.
How to use the Brød and Taylor dough proofer
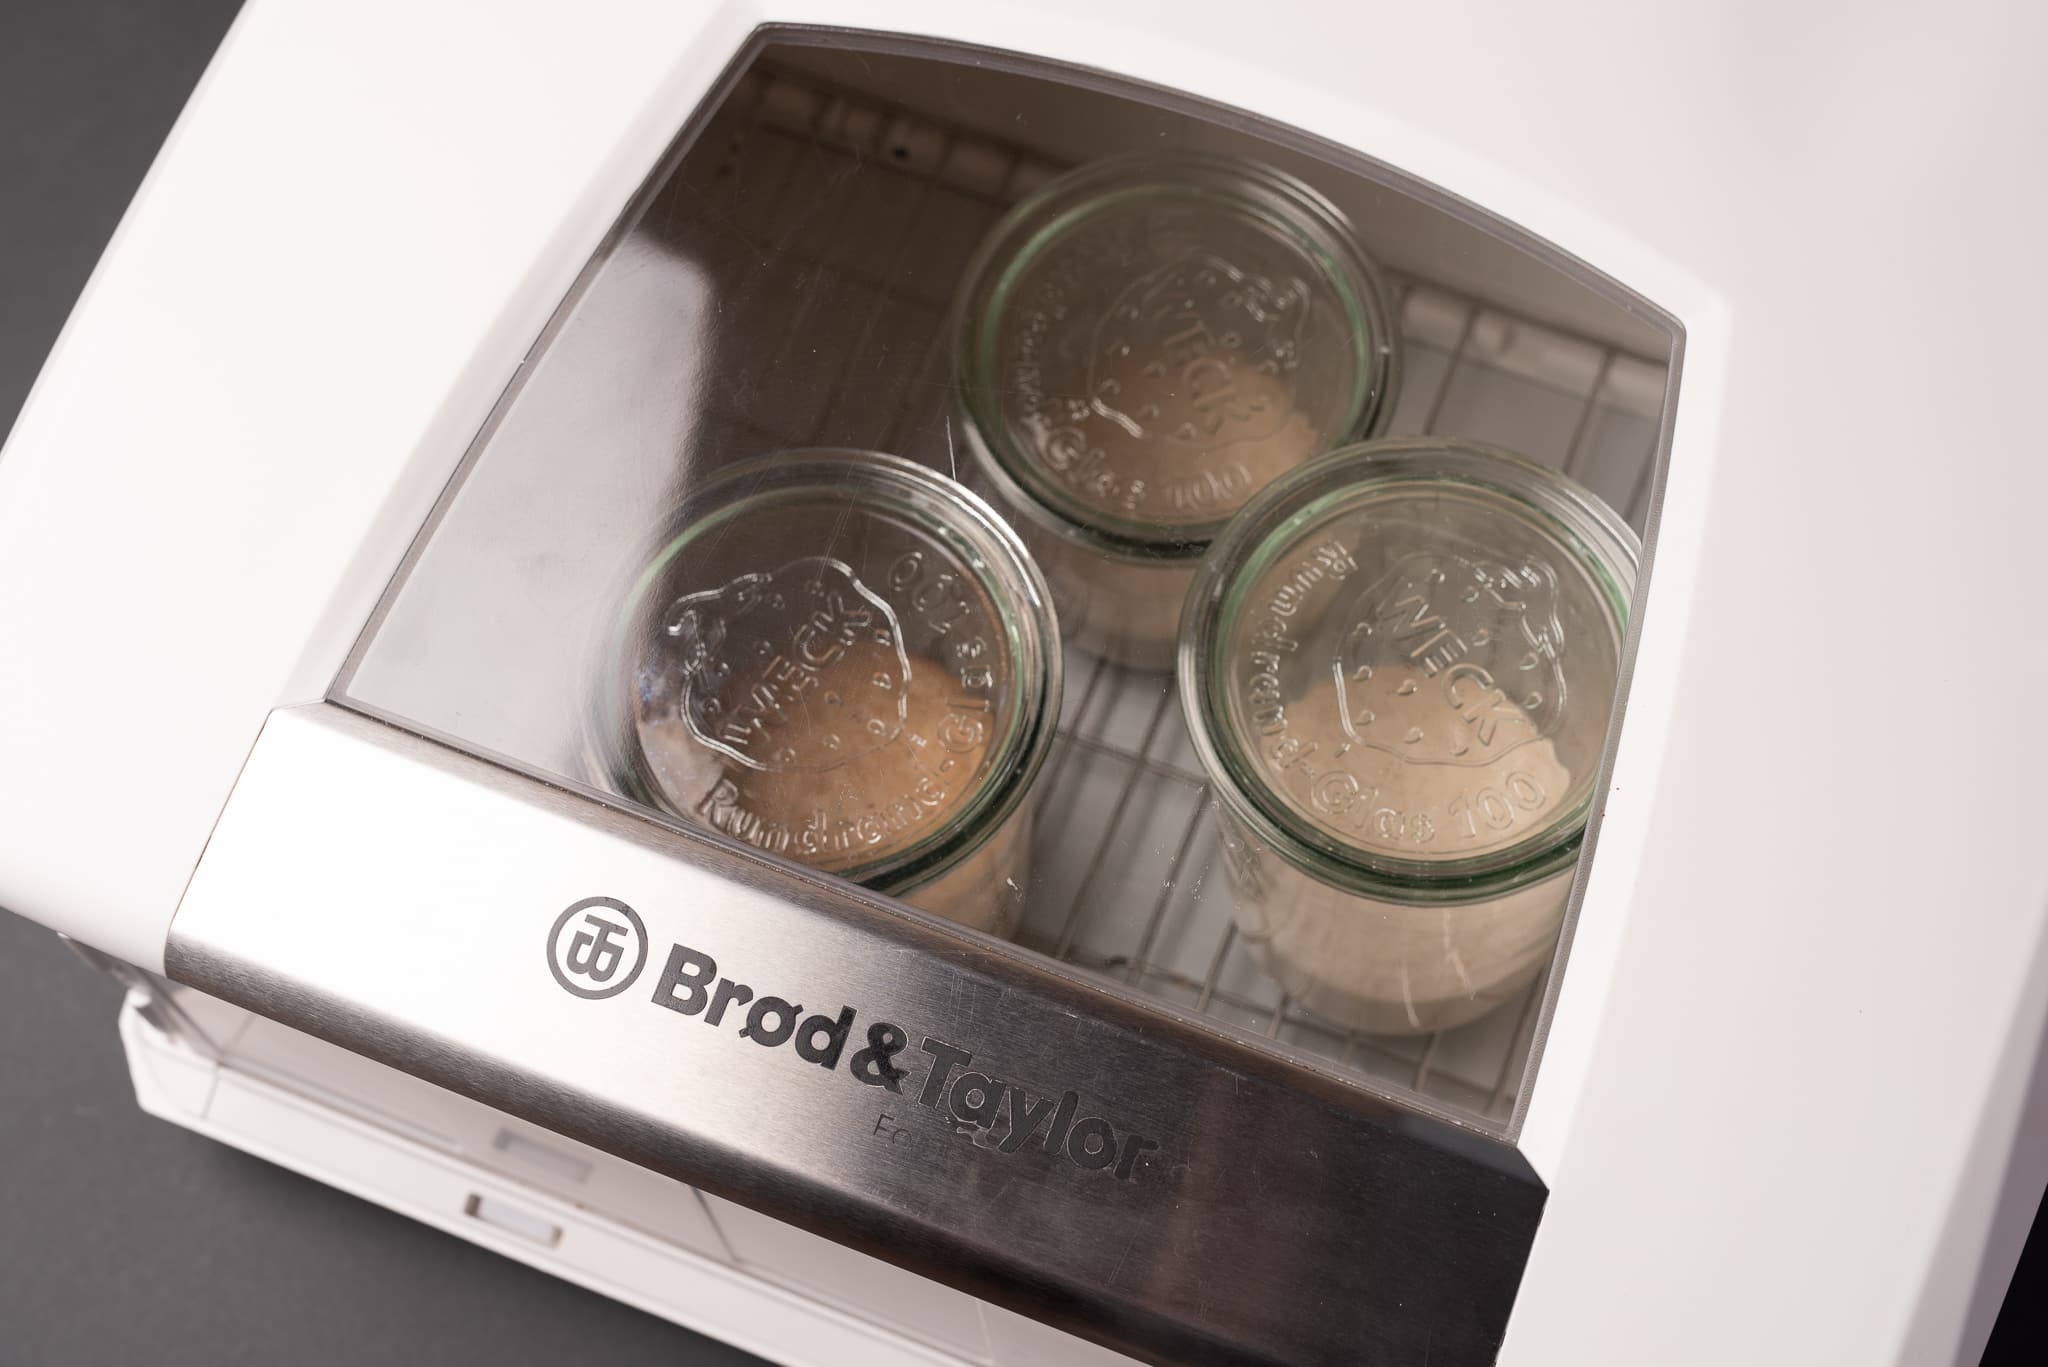
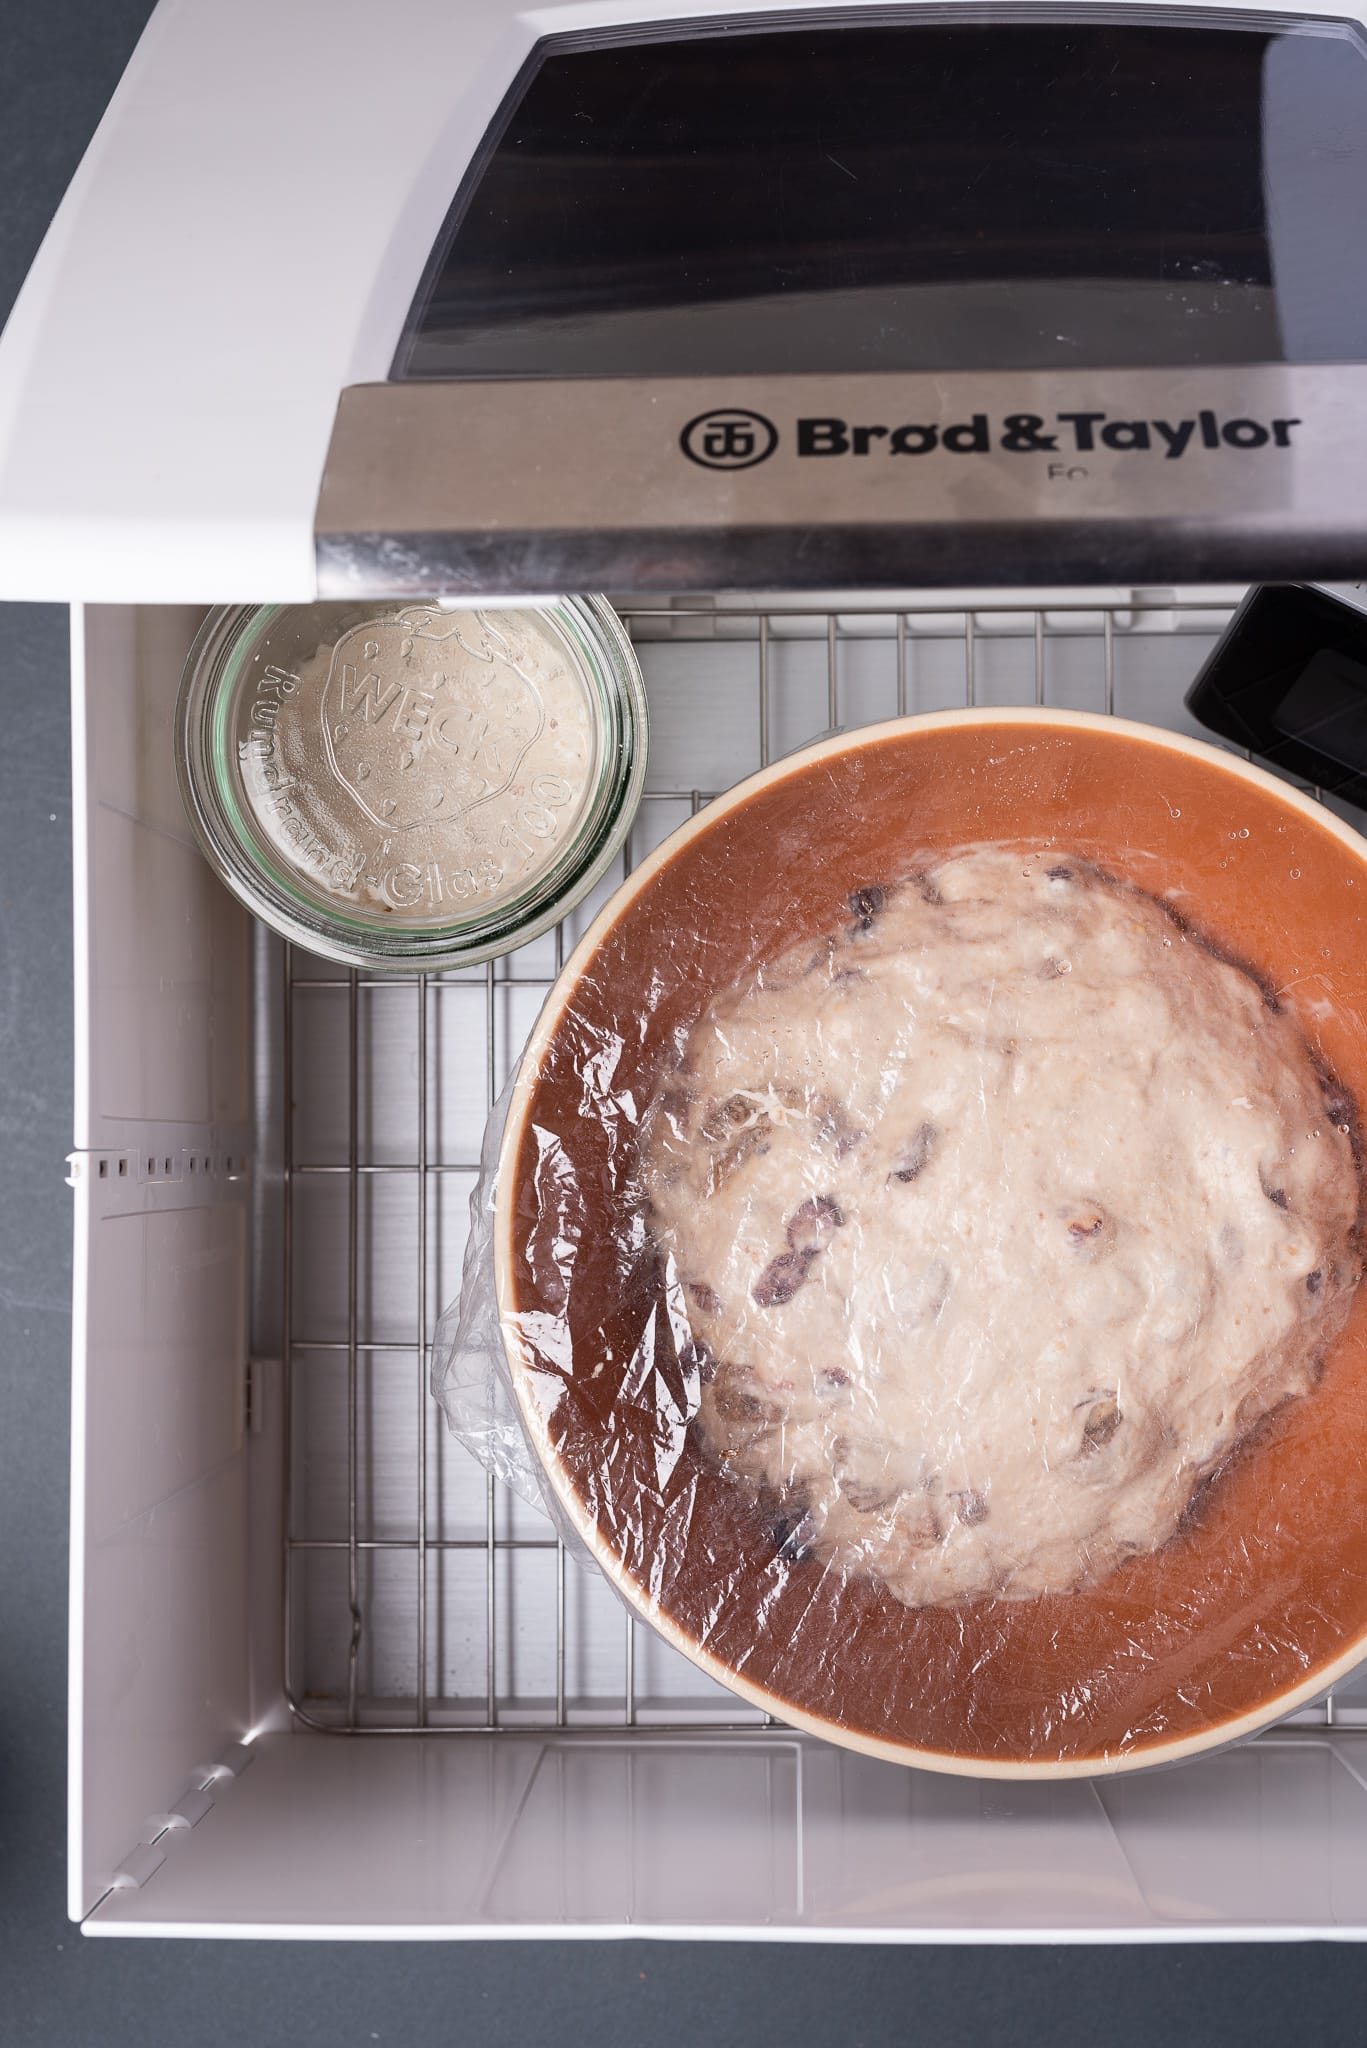
First, it's important to set up your proofer to use it as a dough proofer and not a slow cooker. This means you'll want to insert the metal rack into the base of the proofer (as you can see below). This rack will hold any jars and bowls and keep them up off the heating plate at the bottom (which is what you would do when using it in slow cooker mode).
Having a proofer doesn't mean we can ignore the dough's final dough temperature—which is still as important as ever.
From there, the proofer is extremely easy to operate: select your desired temperature using the control panel on the unit's side. If your kitchen is cooler than the temperature inside the proofer, it will begin heating until the objects in the proofer reach your desired temperature.
The proofer was designed to heat with increased intensity in the center of the unit's rectangular base versus the edges. This is because it is designed to use the included water tray (more on this in a moment). I rarely use the water try, but regardless, I always cluster my jars and bowls in the middle of the proofer, as you can see above.
Next, let's talk about the included water tray.
Should I use the included water tray?
The proofer comes with a small, rectangular tray filled with water and placed at the bottom of the unit. As I mentioned earlier, the proofer has a slightly warmer temperature in the dead center of the base. Warming the center a few degrees higher than the edges facilitates water evaporation from the tray. The evaporated water will increase the humidity in the proofer (which can help prevent your dough from drying out), but it does more than that: it also increases the proofer's heating effectiveness. Water vapor carries thermal energy more efficiently to any object inside the proofer.
This is perhaps the single most common question I receive: Should I use the included water tray inside the proofer?
The choice is up to you, the proofer works extremely well whether you use the water tray or not. I personally don't use it (for a few reasons I'll go into soon), but know that it does perform two functions:
- Increase the humidity in the chamber to keep your dough from forming dry patches
- Improve the heating efficiency inside the chamber
Because the proofer was designed to use the water tray, it was also calibrated in that use case. If you do not use the water tray, expect a 2° drop in dough temperature if you have any containers uncovered.
However, if you do not use the water tray and cover your dough (this is what I do), the drop in temp will be offset by the heat retained by the cover.
To sum up: should I use the included water tray?
The choice is up to you, and the proofer will work well either way. Choose one of the following:
If you use the water tray, keep your dough uncovered.
If you do not use the water tray, keep your dough covered.
This leads me to discuss whether I keep my dough covered or uncovered when in the Brød and Taylor dough proofer.
Do I cover my dough container when in the proofer?
First, let's talk about covering containers, another common question I receive about the proofer. Yes, I keep my starter, levain, and dough containers covered at all times when inside the proofer (I use these reusable covers). I primarily do this because it's extremely dry here where I live, and I'm always covering things to avoid a skin from forming on my dough (it drying out). But it's also because I do not use the included water tray.
If you choose to use the water tray at the bottom of the unit, you won't need to cover your dough for shorter periods of time, but if I were doing a long ferment, say 12 hours, I would still choose to cover my dough.
One caveat: I would likely choose not to cover my dough in the proofer if I set the temperature at the high end, say anything at or above 80°F (26°C). Why? In that case, the heating element would heat the vessel and the dough to such a high degree the dough would likely be much hotter than expected.
To sum up: should I keep my dough container covered?
Keep your dough covered if:
You are not using the included water tray.
Your fermentation time is longer than 12 hours.
What temperature should I set the proofer to?
No single temperature is best for all situations, but I do have a set of go-to temperatures. You might want to adjust the temperature higher or lower: if it's frigid in your kitchen, when it's only maintaining your sourdough starter, when you're making a warm and fast levain, or if your dough recipe calls for a lower final dough temperature. With each of the temperatures discussed below, remember that I keep my containers covered at all times and do not use the water tray, so I set the Brød and Taylor dough proofer to be about 2-3° below the temperature I'm targeting for my dough.
Below is a quick table of the temperatures I keep each item at while fermenting, arrived upon through testing over the many years I've had the Brød and Taylor proofer. Remember that you should always follow the prescribed temperatures in any formula you're following (e.g., many of my whole-grain loaves call for a lower final dough temperature).
| Item | Temperature Controller Setting on Proofer (not using water tray) | Temperature inside container (dough) |
|---|---|---|
| Sourdough starter | 75°F (24°C) | 77-78°F (25-26°C) |
| Levain | 75°F (24°C) | 77-78°F (25-26°C) |
| Mostly-white bread dough (in bulk fermentation container) | 76-77°F (24-25°C) | 78°F (26°C)4 |
| Whole grain bread dough (in bulk fermentation container) | 73°F (22°C) | 75°F (23°C) |
Let's take a look at these three different situations in more detail.
What temperature should I keep my sourdough starter at?
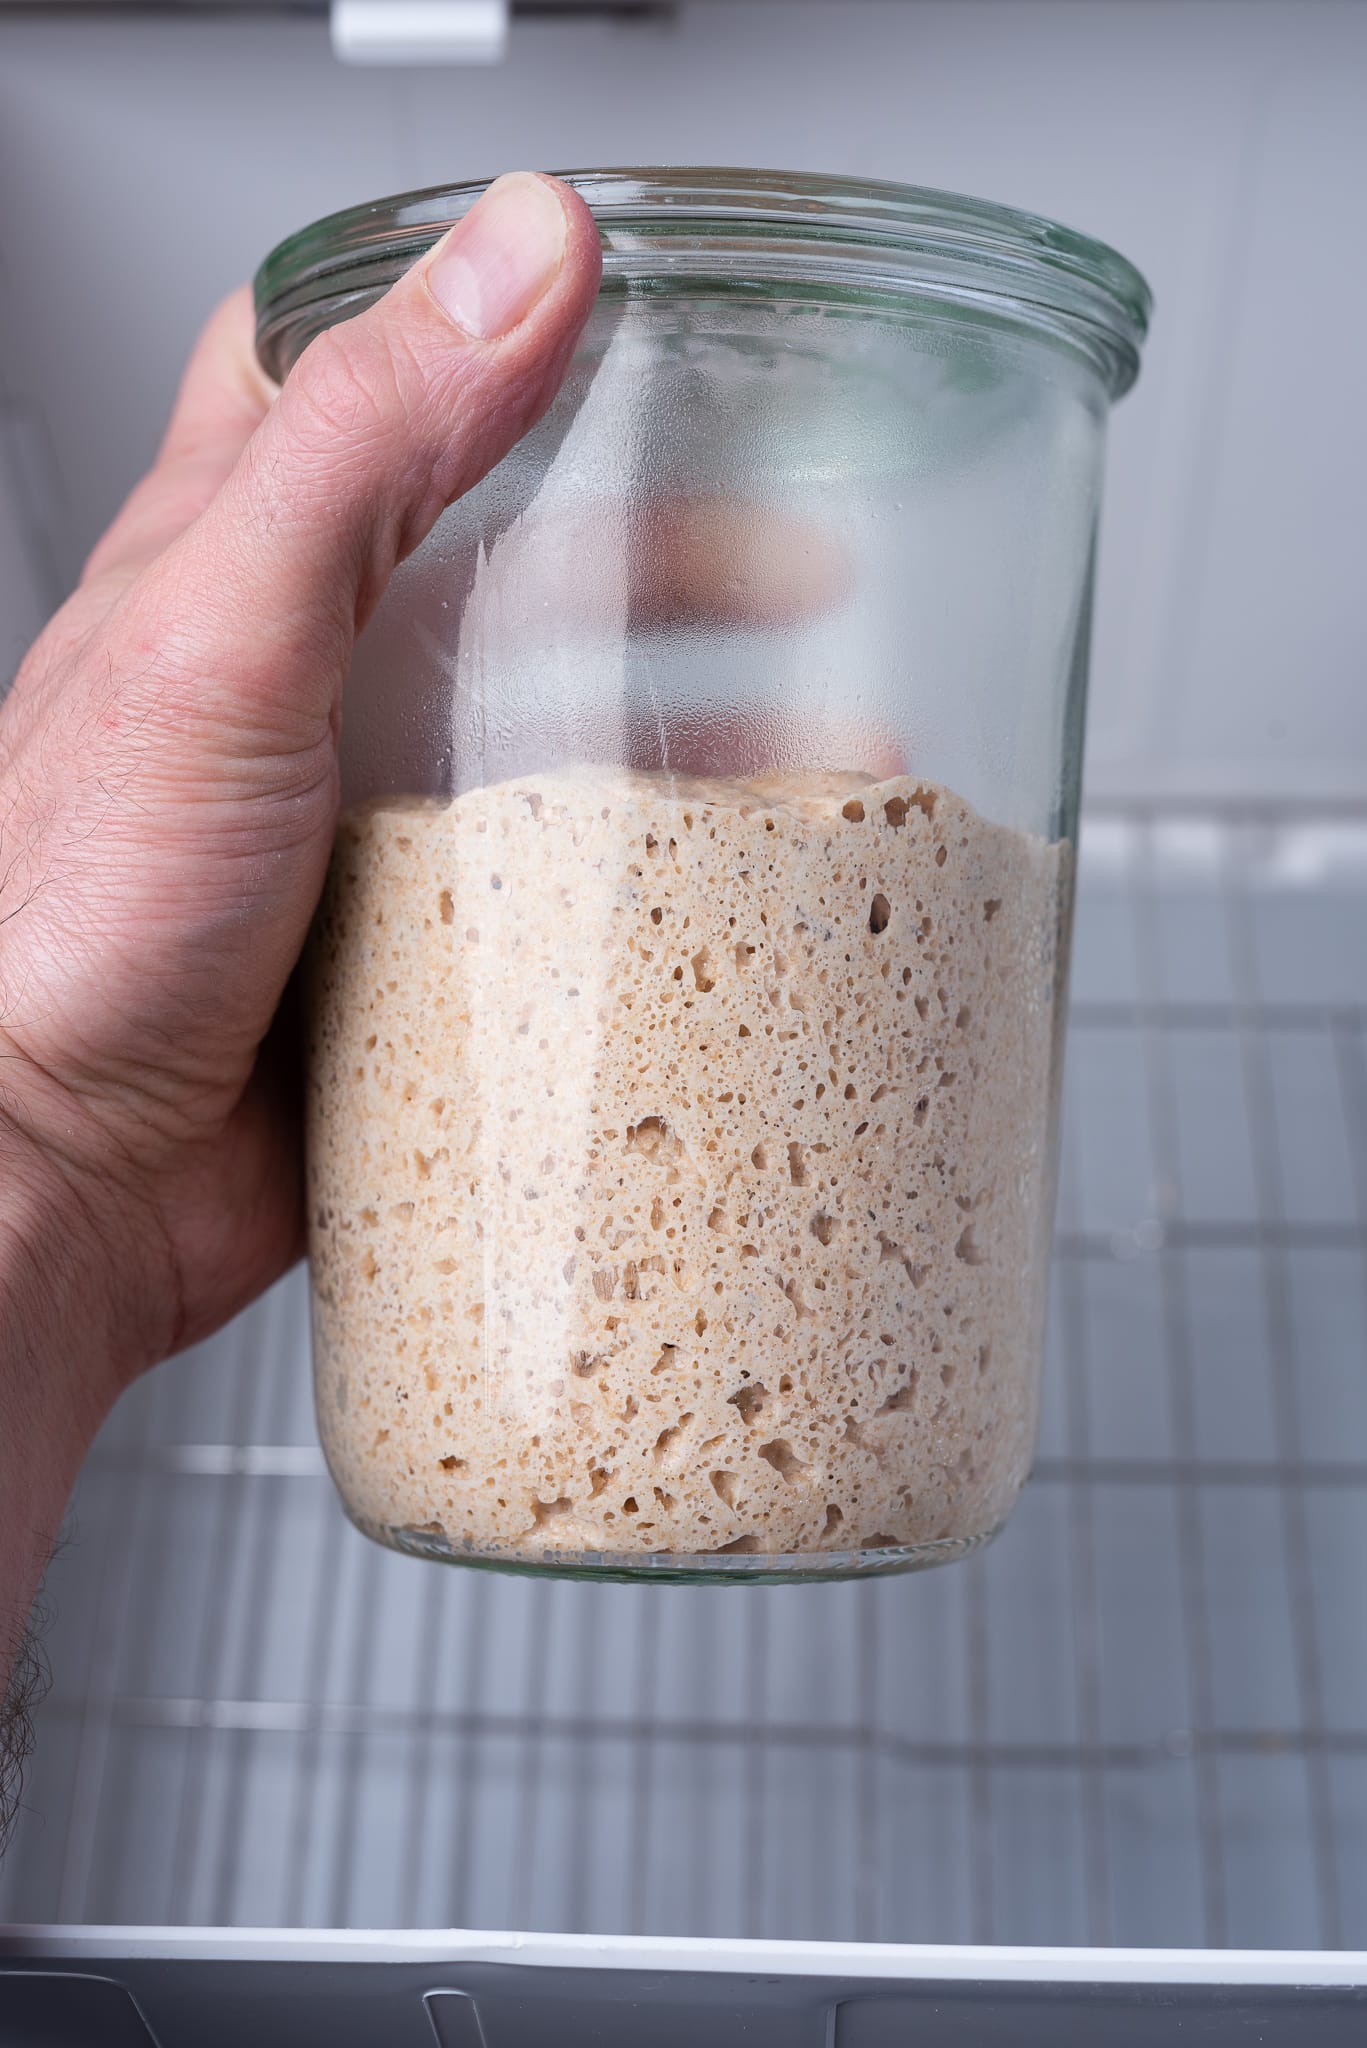
I keep my Brød and Taylor dough proofer plugged in and running 24/7 in my kitchen pantry. I always have it running at 75°F (24°C). At this temperature, and following my sourdough starter maintenance routine (10-20g ripe starter carryover, 100g flour, and 100g water), I refresh once in the morning and once at night.
This temperature and refreshment ratio results in a starter that's vigorous and ready for creating a levain or using my starter in a bake directly.
What temperature should I keep my levain at?
Like my sourdough starter, I usually keep the Brød and Taylor dough proofer set to 75°F (24°C) when my levain is ripening. Because I almost always shoot for a levain final temperature of 78°F (26°C), and I don't use the water evaporation tray, this works out very well.
What temperature should I keep my bread dough at?
When I place my large ceramic bowl or large bread tub in the proofer, I usually bump the temperature up to 76-77°F (24-25°C) on the control panel. The larger dough mass usually benefits from a little extra heat (especially when baking bread in the winter). I'll monitor the dough's temperature through bulk fermentation, turning the proofer down 1-2° if necessary.
In some cases, I want my final dough temperature to be on the lower side. This is usually when I'm working with a mostly whole grain recipe or one that has a majority of the flour freshly milled. Through experience, I've found keeping the dough at a slightly cooler temperature keeps the dough over-proofing. For a whole wheat dough recipe, I usually set the proofer to 73°F (22°C).
Using the proofer to rapidly warm the dough
It can be a struggle to keep a small dough quantity at a consistent temperature in the winter. A common issue I run into here in my kitchen is the rapid cooling of my dough when I'm mixing and strengthening, especially when I perform a round of slap and fold on my cold, granite countertop. This can also happen when making enriched dough, like my sourdough cardamom rolls, which call for ingredients cold from the fridge (making calculating that final dough temp a little more tricky).
To adjust for cooler temperatures, I like to warm my mixing water so it's a few degrees over the final dough temperature for a given recipe. Then, when I finish mixing and perform my typical five-minute slap and fold kneading session on the counter, the dough might only be slightly under the final dough temperature (sometimes it's spot on, and no further adjustment is necessary).
Sometimes, though, the cold nature of my counter means the dough drops a little farther. To compensate for this, I bump my dough proofer up a few degrees at the start of bulk fermentation, usually to 77°F (25°C). After 30 minutes in the proofer, covered, I take my dough out to perform the first set of stretches and folds and take its temperature. Usually, its temperature has risen, and the dough should be right on target for the rest of bulk fermentation. If it is, I then drop the proofer's temperature back down a few degrees and continue as usual with bulk.
Recommended reading: How to slap and fold (knead) your bread dough.
What container should I use inside the proofer?
In terms of materials, from ceramic to plastic to metal, any container will work to hold your dough inside the Brød and Taylor dough proofer.
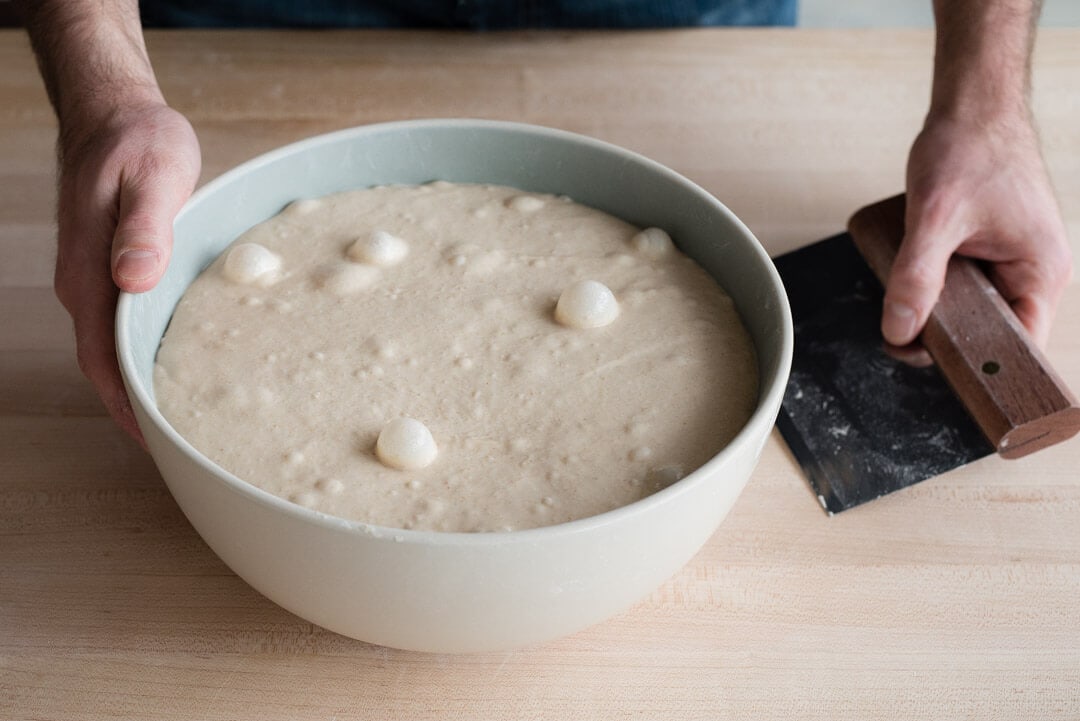
If you're a frequent visitor here, you'll undoubtedly recognize the orange and blue ceramic bowls I use to hold my dough in bulk fermentation. These large bowls are from Heath Ceramics and have a 4.5″ height and 10″ diameter. One of these bowls, which comfortably holds around 2 kg of dough, will fit easily inside the proofer with room for another levain or starter jar inside.
When I'm baking larger dough batches, I usually use my Rubbermaid food tub, which comfortably holds 4-5 kg of dough. The tub is quite large and still fits in the dough proofer.
The proofer's interior dimensions of the proofer are 14.75 x 12.5 x 8″ high. Any container you have with smaller dimensions should fit and work just fine in the proofer.
I hope this roll-up of information on how to use the Brød and Taylor dough proofer has given you a good overview of the proofer and a few use cases for keeping your starter, levain, and dough. While the advice here isn't the only way to use the proofer, it's a collection of the best methods I use to keep my sourdough starter vigorous, my dough on schedule (and flavorful), and even a way to adjust your baking timeline.
If you have a question that didn't get answered or feedback on how you use a proofer in your kitchen, please leave a comment in the discussion below!
What's next?
For more temperature-related baking information, hop on over to my post on the importance of temperature in bread baking to learn more about desired dough temperatures, final dough temperatures, and why temperature impacts bread baking.
If you find yourself baking in the cold of winter, see my guide on how to bake sourdough bread in the winter for my best tips on keeping your starter, levain, and dough fermenting vigorously.
Happy baking!
Yes, I'm one of those types 🤓↩
Radiative heat is the energy that's emitted by matter in the form of photons or electromagnetic waves (Science Direct). Think of it like having a pan over, but not touching, a fire (but not that hot, of course).↩
If the container were placed directly on the plate, that might be a different story.↩
My ceramic bowl tends to prevent the dough from getting excessively warm.↩
